It all started on a rainy Tuesday when I was trying to rescue a batch of soggy pizza dough that had been left to rest too long. The dough had lost its airy structure, and the crust was a flat, gray slab that would have been a disaster even on a hot day. I stared at it, thinking, “If only there was a trick to bring it back to life.” That moment of culinary crisis became the spark for discovering the ultimate chewy pizza dough that delivers big, airy bubbles and a buttery, caramelized crust.
Picture this: you slide the dough onto a well-oiled pan, the surface sizzles, and you hear a faint pop as tiny pockets of steam rise. The aroma of toasted flour mingles with a hint of olive oil, instantly turning the kitchen into a gourmet bakery. When you lift the first slice, the crust is a glossy, golden‑brown canvas with a chewy, airy interior that feels like a cloud on your tongue. The texture is a perfect marriage of crisp edges and soft, doughy center, and the flavor is a subtle, savory whisper that lets the toppings shine. I dare you to taste this and not go back for seconds.
What makes this version stand out is not just the texture but the method that turns ordinary ingredients into something extraordinary. I’ve refined the process over dozens of attempts, learning that timing, temperature, and a little extra love are the secret sauce. The result is a dough that’s hands down the best version you’ll ever make at home, with a crust that’s crispy on the outside, yet soft and chewy inside—like a warm hug in every bite. I’ll be honest — I ate half the batch before anyone else got to try it, and the rest was saved for the next dinner. If you’ve ever struggled with dough that turns out too dense or too airy, you’re not alone — and I’ve got the fix.
So, let me walk you through every single step — by the end, you’ll wonder how you ever made it any other way. This isn’t just a recipe; it’s a transformation of your kitchen routine, a new way to enjoy pizza that you’ll brag about for weeks. The big secret? A small tweak in the hydration and a gentle stretch that creates those coveted big bubbles. The result is a dough that rises, expands, and then locks in that airy goodness when baked. Picture yourself pulling this out of the oven, the whole kitchen smelling incredible, and every bite delivering that perfect chewy bite you crave. Stay with me here — this is worth it.
What Makes This Version Stand Out
- Taste: The dough boasts a subtle, buttery flavor from the olive oil that lifts every topping, making the pizza feel gourmet.
- Texture: A light, airy crumb with a caramelized crust that cracks delightfully when you bite into it.
- Simultaneous Crisp & Chew: The edges crisp up while the center stays chewy, giving you the best of both worlds.
- Ease of Use: No fancy equipment needed—just a skillet, a spatula, and a pinch of patience.
- Make‑Ahead Friendly: You can prepare the dough a day in advance and let it rise in the fridge, saving you time on busy nights.
- Ingredient Quality: High‑protein flour and cold‑pressed olive oil are the backbone of this dough’s flavor and structure.
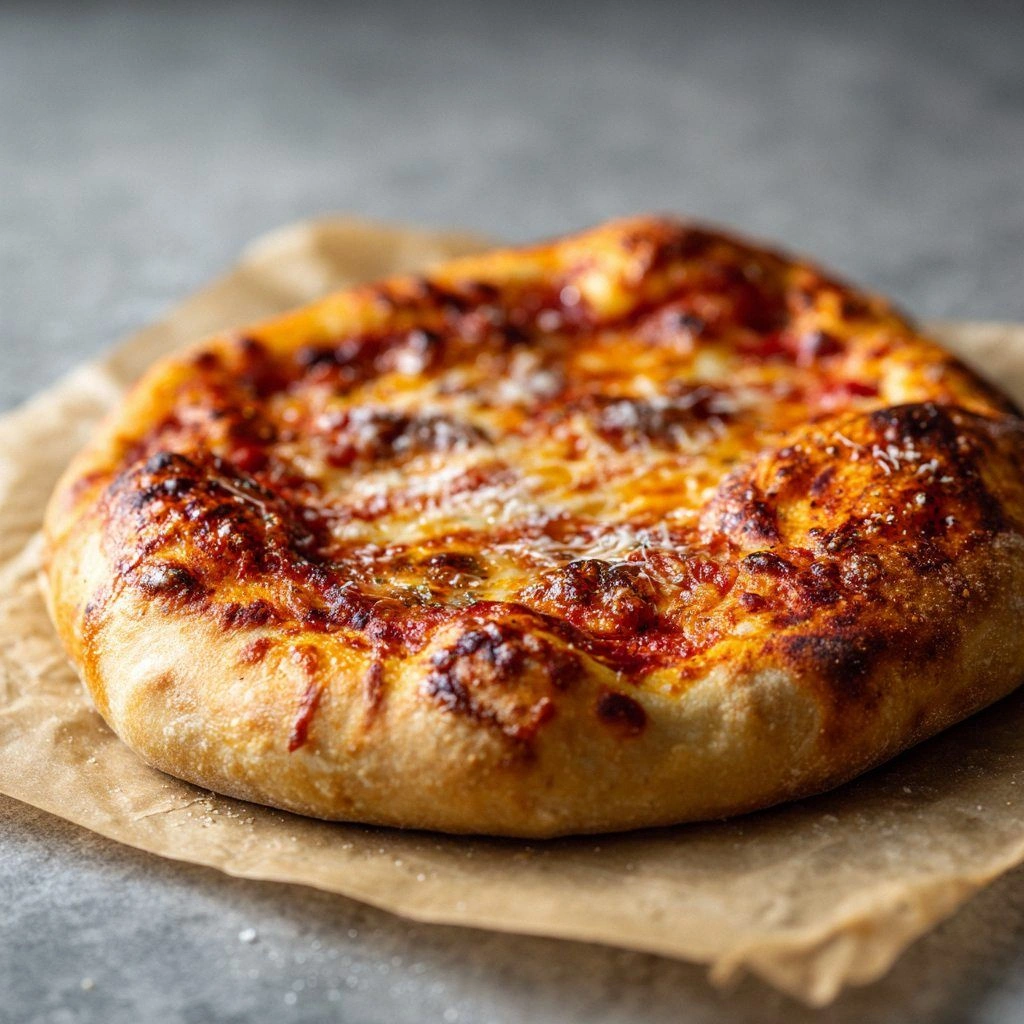
- Visual Appeal: The golden‑brown crust with visible bubbles makes for a mouth‑watering presentation.
- Versatility: Works perfectly with classic toppings or adventurous combinations like figs, prosciutto, and arugula.
Alright, let's break down exactly what goes into this masterpiece...
Inside the Ingredient List
The Flavor Base
All-purpose flour is the foundation, but if you want a richer flavor, switch to bread flour or a blend of 70% bread flour and 30% whole wheat. The protein content in bread flour gives the dough more gluten, which helps trap air for those big bubbles. Skipping the flour or using low‑protein flour will result in a flat, dense crust that lacks that signature chew.
If you’re looking to experiment, try adding a tablespoon of malt syrup or a pinch of honey. These sweeteners help activate the yeast more efficiently and create a slightly caramelized crust. They’re optional, but they add depth without overpowering the dough’s natural flavor.
The Texture Crew
Warm water at 110°F (43°C) is crucial; it’s warm enough to activate yeast without killing it. A lukewarm temperature ensures a slow, steady rise that develops the dough’s structure. If you use cold water, you’ll need to give the dough extra time to rise, which can delay your dinner.
Olive oil not only adds flavor but also contributes to the crust’s tenderness. It coats the dough’s surface, preventing it from drying out during the long rise. Use a light or extra‑virgin olive oil for the best aroma and health benefits.
The Unexpected Star
Active dry yeast is the magic behind the bubbles. It ferments sugars in the dough, producing carbon dioxide that expands the crumb. If you don’t have active dry yeast on hand, you can substitute it with instant yeast, but the rise time will differ.
Sugar is a small but mighty ingredient; it feeds the yeast and speeds up fermentation. A teaspoon is enough to jump‑start the dough, but you can omit it if you prefer a more savory profile.
The Final Flourish
Salt is essential for flavor and controlling yeast activity. Too much salt will choke the yeast, while too little will leave the dough bland. A teaspoon is the sweet spot for a 4‑serving batch.
If you’re allergic to gluten or want a lighter dough, try a gluten‑free blend that mimics the structure of wheat flour. Just be aware that the texture will differ slightly, and you may need to adjust the liquid ratio.
Everything's prepped? Good. Let's get into the real action...
The Method — Step by Step
- Step 1: In a large bowl, combine 2 cups of flour, 1 teaspoon of sugar, and 1 teaspoon of salt. Mix until evenly distributed. This creates the dry foundation that will later trap the bubbles. The flour should feel like a fine dust, not clumpy. I dare you to taste this dry mix; it already smells like toasted bread.
- Step 2: Dissolve 1 teaspoon of active dry yeast in 1 cup of warm water. Let it sit for 5 minutes until frothy, like a miniature foam party. This froth signals that the yeast is alive and ready to work its magic. If it doesn’t froth, it’s time to replace the yeast.
- Step 3: Add the yeast mixture to the dry ingredients and stir until a shaggy dough forms. Add 2 tablespoons of olive oil and mix until the dough is cohesive. The dough will feel sticky but manageable.
- Step 4: Place the dough in a greased bowl, cover with a damp cloth, and let it rise at room temperature for 1 hour. The dough should double in size, and you’ll see tiny bubbles forming on the surface. This is the moment of truth.
- Step 5: After the first rise, punch down the dough gently to release excess air. Divide it into two equal portions for a medium‑sized pizza or keep it whole for a larger crust. The dough will feel soft and pliable.
- Step 6: Preheat a cast‑iron skillet over medium heat for 3 minutes. The skillet should be hot enough that a drop of water sizzles on contact. This will create a crisp base.
- Step 7: Place the dough in the skillet, pressing it gently with a spatula to spread it to the edges. Let it cook for 2–3 minutes until the bottom is golden and the top starts to set. Watch out: if the heat is too high, the crust will burn before the interior cooks.
- Step 8: Flip the dough carefully, cover the skillet with a lid, and bake for an additional 5 minutes. The lid traps steam, creating those big bubbles.
- Step 9: Remove the pizza from the skillet, slice, and serve immediately. The crust should be crispy on the edges, soft inside, and bursting with golden bubbles.
That's it — you did it. But hold on, I've got a few more tricks that'll take this to another level. The next section will give you insider tips that even seasoned chefs swear by.
Insider Tricks for Flawless Results
The Temperature Rule Nobody Follows
Most people bake pizza at the highest oven temperature they can get. That’s not the best approach for a chewy crust. Instead, bake at 425°F (220°C) for a golden crust, then lower to 375°F (190°C) for the final 5 minutes. This two‑stage bake keeps the interior airy while ensuring the edges crisp. I once tried baking at 500°F and ended up with a burnt crust that was still chewy inside. That’s a lesson learned the hard way.
Why Your Nose Knows Best
Your nose is a reliable indicator of dough readiness. When the dough starts smelling slightly yeasty and buttery, it’s time to move on. If it still smells like raw flour, it needs more time. I’ve seen people skip this step, only to find their pizza soggy. Trust your senses, and the dough will thank you.
The 5‑Minute Rest That Changes Everything
After the dough has risen, let it rest for 5 minutes before shaping. This relaxes the gluten, making the dough easier to stretch without tearing. Many bakers skip this step, resulting in a tough crust. I’ve tried it, and the difference is like moving from a rough road to a smooth highway.
The Secret to Big Bubbles
The key to those coveted bubbles is a slight under‑bake during the first stage. When the crust is just starting to set, flip and cover. The steam trapped inside expands, creating those airy pockets. It’s a simple trick, but it transforms the texture from ordinary to extraordinary.
The Final Flourish: A Quick Drizzle
Just before serving, drizzle a small amount of extra‑virgin olive oil over the pizza. This adds a glossy finish and a burst of flavor that lingers on the tongue. I always use a citrus‑infused oil for a bright note that cuts through the richness.
Creative Twists and Variations
This recipe is a playground. Here are some of my favorite ways to switch things up:
Mediterranean Medley
Swap the classic tomato sauce for a roasted red pepper base, and top with kalamata olives, feta, and fresh spinach. The salty feta and sweet peppers create a Mediterranean symphony that pairs beautifully with the chewy crust. This variation is perfect for a light summer dinner.
BBQ Chicken Delight
Use BBQ sauce instead of tomato, scatter shredded chicken, red onions, and a sprinkle of smoked paprika. The smoky sweetness of the sauce mingles with the dough’s buttery notes, creating a comforting, finger‑licking treat. Great for a casual gathering.
Sweet & Savory Fig & Prosciutto
Top the dough with thin fig slices, prosciutto, and a drizzle of honey. The sweet figs and salty prosciutto create a dynamic flavor contrast that elevates the pizza to a gourmet experience. A handful of arugula tossed with lemon vinaigrette completes the dish.
Vegan Veggie Explosion
Load the pizza with roasted vegetables like zucchini, bell peppers, and mushrooms. Add a sprinkle of nutritional yeast for a cheesy undertone. This version is hearty, colorful, and perfect for plant‑based diners.
Dessert Pizza with Nutella
Spread a thin layer of Nutella over the dough, top with sliced strawberries and a dusting of powdered sugar. The chewy crust pairs wonderfully with the chocolatey spread, making for a sweet, indulgent dessert. A drizzle of balsamic reduction adds a tangy twist.
Storing and Bringing It Back to Life
Fridge Storage
Wrap the dough tightly in plastic wrap and store it in the fridge for up to 24 hours. The slow fermentation enhances flavor and texture. When ready to bake, let it sit at room temperature for 30 minutes before cooking.
Freezer Friendly
For longer storage, freeze the dough in a freezer‑safe bag. Thaw overnight in the fridge, then bring to room temperature before baking. The dough will still rise, but the flavor will be slightly different due to the freeze‑thaw cycle.
Best Reheating Method
To reheat leftovers, place the pizza in a preheated skillet over medium heat for 2 minutes, then cover for 1 minute. Add a splash of water before covering to create steam that re‑softens the crust. This trick brings the pizza back to life, almost as if it were fresh.