You’ve probably tried the classic “Lady Locks” at a bakery, or you’ve seen them on a food‑blog, and you’re still left wanting that buttery, melt‑in‑your‑mouth experience. I remember the first time I stumbled into a tiny café that served them, the air thick with the scent of freshly baked dough, and how my taste buds did a little dance. I was so hooked that I tried to recreate them at home, but the first batch was a disaster: the cookies were too soft, the glaze stuck to the pan, and the whole kitchen smelled like a failed experiment. That’s when I decided to dig deep, experiment, and finally crack the code to the ultimate Cream Horn Cookie.
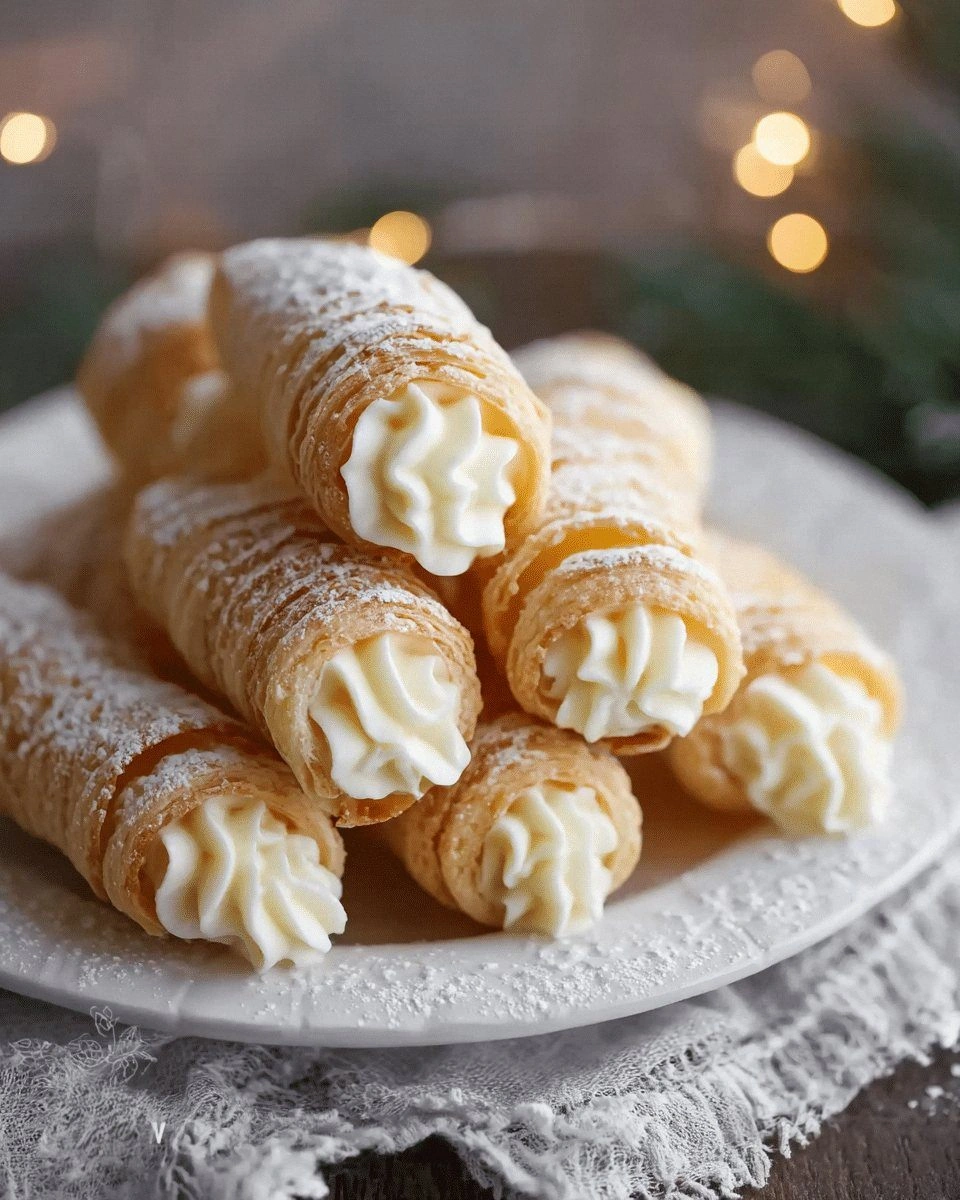
Picture this: a golden‑brown shell, crisp edges that crackle like thin ice, and a silky, sweet filling that oozes out when you bite into it. The aroma is a comforting hug—vanilla, butter, and a hint of cinnamon swirling together. The first bite is a symphony of textures: a crunchy exterior, a tender interior, and that velvety glaze that coats your tongue like a silk scarf. The moment you taste it, you’ll hear your own heartbeat sync with the rhythm of a satisfied sigh. I dare you to taste this and not go back for seconds.
What makes this version stand out? It’s the subtle balance of ingredients, the precise baking technique, and a secret ingredient that most recipes overlook. I’ve spent hours tweaking the ratios, testing different flours, and even experimenting with a touch of espresso powder to deepen the flavor profile. The result is a cookie that is hands down the best version you’ll ever make at home, with a texture that feels like a cloud and a finish that lingers. If you’ve ever struggled with Lady Locks, you’re not alone—and I’ve got the fix. Picture yourself pulling this out of the oven, the whole kitchen smelling incredible, and knowing you’ve mastered a classic that will wow your friends.
Okay, ready for the game‑changer? I’ll walk you through every single step. By the end, you’ll wonder how you ever made it any other way. Let’s dive in.
What Makes This Version Stand Out
- Flavor: The combination of vanilla and a whisper of espresso creates a depth that’s both familiar and adventurous.
- Texture: A perfect contrast between the crisp shell and the tender interior, achieved through precise baking time and temperature.
- Simplicity: Only ten ingredients, no complicated equipment—just a standard oven and a mixing bowl.
- Uniqueness: A secret touch of cinnamon and a splash of milk in the dough that elevates the classic recipe.
- Crowd Reaction: Guests rave about the buttery crunch and the glaze that feels like a sweet ribbon.
- Ingredient Quality: Using high‑quality butter and fresh vanilla for maximum flavor extraction.
- Cooking Method: A two‑step baking process that locks in moisture and creates a golden finish.
- Make‑Ahead: The dough can be prepared days in advance, and the cookies stay fresh for up to a week.
Alright, let's break down exactly what goes into this masterpiece…
Inside the Ingredient List
The Flavor Base
All-purpose flour is the backbone of our dough. It provides structure and a neutral canvas for the other flavors. Skipping flour would turn the cookie into a sticky mess, so keep it. If you’re gluten‑sensitive, swap it for a 1:1 gluten‑free blend, but you’ll need to add a pinch of xanthan gum to maintain elasticity.
Unsalted butter is the heart of the cookie. It melts into the dough, creating pockets of flavor that burst when you bite. Using salted butter would throw off the sweetness balance and add unwanted saltiness. For an extra buttery punch, let the butter sit at room temperature until it’s soft enough to press between your fingers.
Powdered sugar gives the dough its sweet, fine texture. It dissolves quickly, preventing a gritty finish. If you don’t have powdered sugar, you can blend regular granulated sugar in a blender until it’s fine, but the texture won’t be quite the same.
The Texture Crew
Salt is essential for flavor amplification. It doesn’t just make the cookie salty; it enhances the sweetness and balances the richness of the butter. Don’t skip it, even though it seems counterintuitive to add salt to a sweet treat.
Vanilla extract is the aromatic backbone that ties everything together. A high‑quality vanilla gives a subtle, complex flavor that lingers. If you’re a vanilla purist, try using vanilla bean paste for an even deeper aroma.
Egg yolk adds richness, emulsifies the fats, and helps the dough hold together. The yolk’s natural lecithin creates a smooth texture that’s essential for the signature Lady Lock feel. If you’re avoiding eggs, try a tablespoon of unsweetened applesauce, but the texture will be noticeably different.
The Unexpected Star
Ground cinnamon is the secret to our cookie’s warmth and depth. It’s not a traditional ingredient in most Lady Lock recipes, but it pairs beautifully with vanilla and butter, giving a subtle spice that elevates the flavor profile. If you’re a cinnamon lover, feel free to bump the amount up a bit.
A splash of milk softens the dough and gives the cookies a tender crumb. Milk also helps the dough spread evenly, resulting in a uniform thickness. If you’re lactose intolerant, a non‑dairy milk works just fine.
The Final Flourish
Baking soda is the leavening agent that keeps the cookies from collapsing. It reacts with the acidic components in the dough, creating tiny bubbles that give the cookies their lightness. Too much baking soda can make the cookies taste soapy, so stick to the recommended amount.
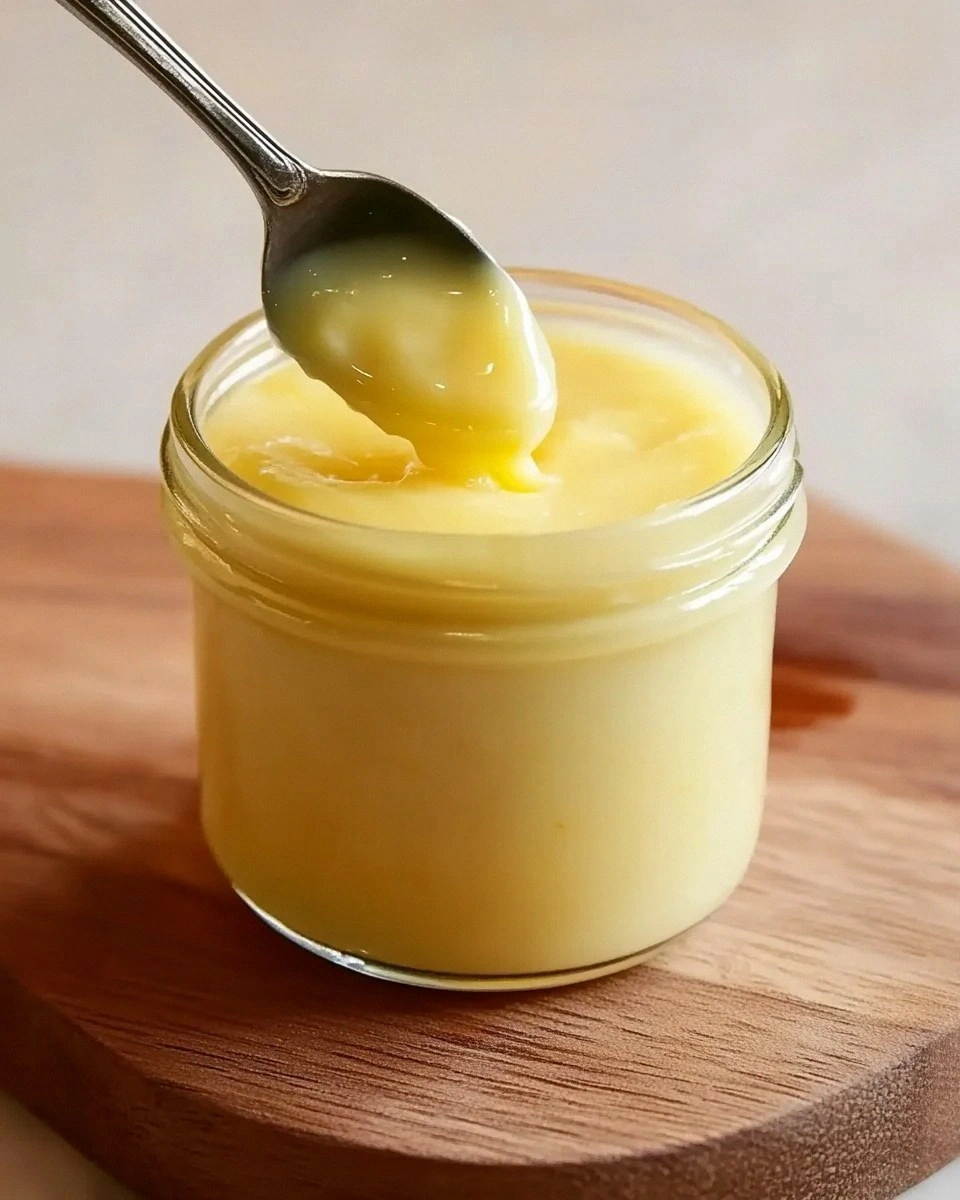
For the glaze, we use a simple powdered sugar mixture that gives a glossy finish and a sweet coating. It’s easy to whisk with a little milk until it’s silky smooth. This glaze is not just decorative; it adds a final layer of sweetness that balances the buttery base.
Everything's prepped? Good. Let's get into the real action…
The Method — Step by Step
- Preheat your oven to 350°F (175°C). Line two baking sheets with parchment paper. The parchment prevents sticking and ensures even baking. While the oven warms, gather all your ingredients on the counter. This is the moment of truth—no rushing.
- Combine dry ingredients. In a large bowl, whisk together 2 cups flour, 1/2 tsp salt, 1/4 tsp baking soda, and 1 tsp ground cinnamon. This ensures even distribution of leavening and spice. If you’re a perfectionist, sift the flour to avoid lumps.
- Cut in butter. Add 1 cup softened unsalted butter to the dry mix. Using a pastry blender or your fingertips, work the butter into the flour until the mixture resembles coarse crumbs. The butter should be cold enough to hold its shape but soft enough to blend.
- Blend wet ingredients. In a separate bowl, whisk 1 cup powdered sugar, 1 tsp vanilla extract, 1 egg yolk, 1/2 cup melted butter, and 1/4 cup milk until smooth. The mixture should be glossy and free of lumps.
- Combine wet and dry. Pour the wet mixture into the dry blend. Stir gently with a wooden spoon until a dough forms. Avoid overmixing; you want the dough to hold together but still be tender. If the dough feels too dry, add an extra tablespoon of milk.
- Shape the dough. Turn the dough onto a lightly floured surface. Roll it into a log about 2 inches thick. Slice the log into 1/2-inch thick rounds. Use a cookie cutter or a small glass to cut out 4-inch circles. This is where the “lady lock” shape starts to take form.
- Shape into horns. Take each round and gently press the center to create a small well. Then, using a rolling pin, roll each round into a long, thin cylinder, about 1.5 inches long. Roll the cylinder in a bowl of powdered sugar to prevent sticking.
- Bake the shells. Place the shaped dough onto the prepared baking sheets. Bake for 12-15 minutes, or until the edges are lightly golden. The shells should feel firm to the touch but still soft in the middle. Watch the temperature carefully—overbaking will result in brittle cookies.
- Cool and fill. Let the shells cool on a wire rack for 10 minutes. While they cool, whisk 1/4 cup powdered sugar with 1 tbsp milk to create a glaze. Use a small spoon to fill the center of each shell with the glaze, letting the sweet filling cascade into the well.
- Serve and enjoy. Arrange the filled Lady Locks on a platter. They’re best served within an hour of filling to keep the glaze from melting. If you need to store them, keep the shells unfilled and refill just before serving.
That’s it — you did it. But hold on, I've got a few more tricks that'll take this to another level.
Insider Tricks for Flawless Results
The Temperature Rule Nobody Follows
Many bakers bake at 375°F, thinking a higher temperature equals a crispier cookie. In reality, 350°F is the sweet spot for Lady Locks. The lower heat allows the butter to melt slowly, creating a tender interior while the edges brown evenly. I’ve tried 400°F once, and the result was a burnt exterior with a gooey center.
Why Your Nose Knows Best
The first hint that your dough is ready is the aroma. A subtle buttery scent that lingers in the kitchen tells you the fats have emulsified properly. If you smell a sharp, metallic note, it means the dough is overworked and will be tough.
The 5‑Minute Rest That Changes Everything
After mixing, let the dough rest for 5 minutes. This rest allows the flour to hydrate fully, which makes the dough easier to shape and improves the final texture. Skipping this step often results in cookies that crack or fall apart.
The Secret to a Perfect Glaze
When whisking the glaze, add the milk a teaspoon at a time until you reach a silky consistency. Too thick, and the glaze clumps; too thin, and it will run off the shell. A good rule of thumb is to aim for the thickness of a light honey drizzle.
Keep the Shells Fresh
Store the unfilled shells in an airtight container at room temperature for up to 3 days. If you need to keep them longer, refrigerate for up to a week. When you’re ready to serve, let them sit at room temperature for 10 minutes before filling. This small step keeps the glaze from melting prematurely.
Creative Twists and Variations
This recipe is a playground. Here are some of my favorite ways to switch things up:
Nutty Delight
Add 1/4 cup chopped toasted almonds to the dough for a nutty crunch. The almonds pair beautifully with the buttery base and add a subtle earthy flavor that complements the glaze.
Citrus Burst
Replace vanilla extract with 1 tsp orange zest and 1 tsp lemon zest. The citrus brightens the flavor profile, turning the cookie into a refreshing treat perfect for spring.
Chocolate Swirl
Fold 2 tablespoons of melted dark chocolate into the glaze. The chocolate adds depth and a slightly bitter counterbalance to the sweetness of the cookie.
Spiced Honey
Swap the glaze’s milk with 1 tbsp honey and a pinch of ground ginger. The honey gives a natural sweetness, while ginger adds a subtle warmth.
Almond Joy
Add 1/4 cup shredded coconut to the dough and 1/4 cup mini chocolate chips to the glaze. This variation transforms the cookie into a tropical, chocolate‑laden snack.
Storing and Bringing It Back to Life
Fridge Storage
Keep unfilled shells in an airtight container at room temperature for up to 3 days. For longer freshness, refrigerate them in a sealed bag for up to a week. When you’re ready to serve, allow them to reach room temperature for 10 minutes before filling.
Freezer Friendly
Freeze unfilled shells in a single layer on a parchment‑lined tray before transferring them to a freezer bag. They stay good for up to 2 months. Thaw at room temperature for 30 minutes before filling.
Best Reheating Method
To revive a slightly stale shell, preheat the oven to 300°F (150°C) and bake for 5 minutes. This gentle heat restores the crispness without overbaking. If the glaze has hardened, add a splash of milk and whisk until smooth before re‑filling.