I still remember the night I burned my dinner and blamed the universe for the kitchen chaos. A pot of beans, a splash of sauce, and a handful of tortillas were all I needed, yet the stovetop exploded into a smoky mess that made my smoke alarm sing louder than a choir. I stared at the charred remains, heart racing, and thought, “This is not how a good enchilada should look.” That moment was the spark that lit the fire for the recipe that would become my go-to weeknight hero: Healthy Enchilada Skillet: A Q.
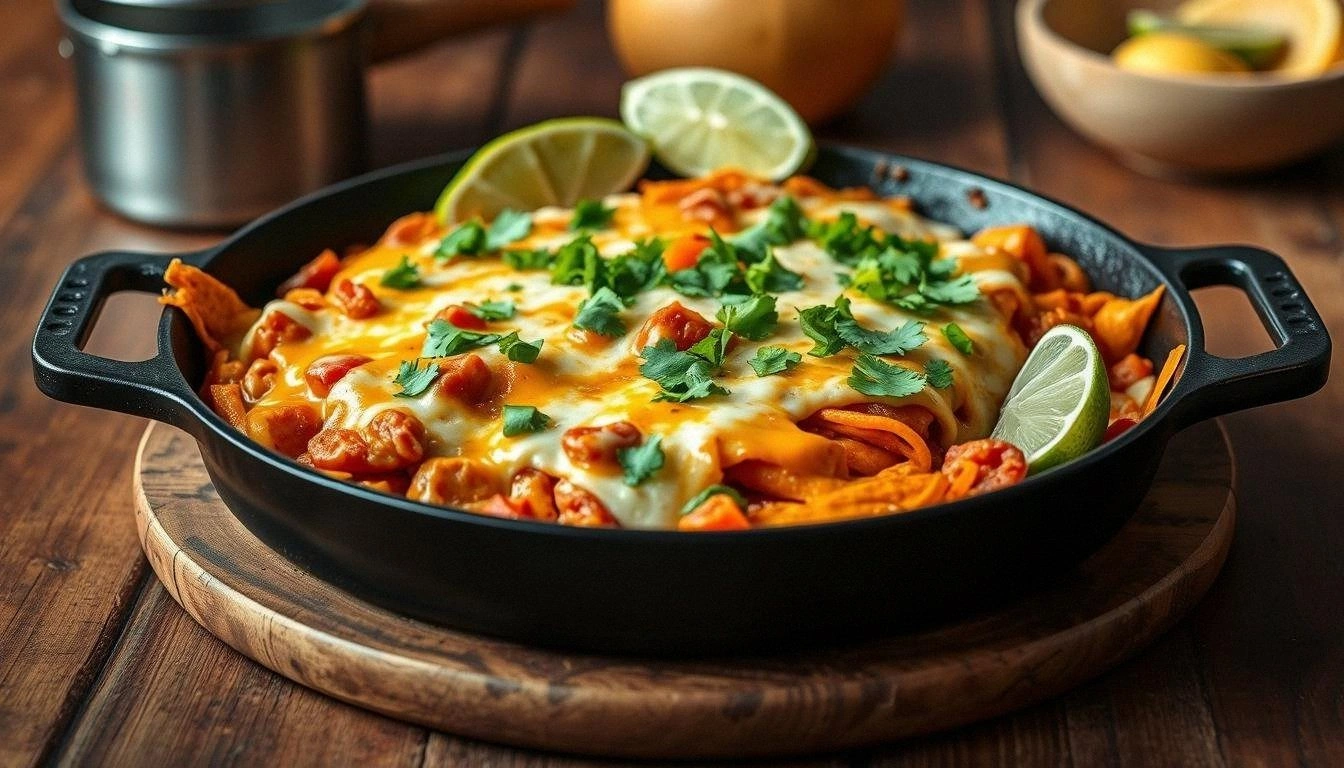
Picture this: the skillet is a stage, the tortillas are the actors, the sauce the dramatic backdrop, and you— the chef— are the director. The first thing that hits you is that unmistakable aroma of cumin and smoky chipotle, drifting from the pan like a warm blanket. Your eyes catch the glossy sheen of melted cheese, the vibrant green of cilantro, and the golden edges of tortillas that have kissed the heat just enough to develop that coveted crunch. The sizzle is a soundtrack— a rhythmic pop that signals everything is cooking just right. Your fingertips feel the heat of the skillet, and the anticipation builds like a drumroll before a concert.
What makes this version stand out is not just the ingredients; it’s the way they dance together in a single pan, eliminating the need for a separate oven or a dozen utensils. Every bite is a burst of flavor, a harmony of textures, and a testament to the power of simplicity. I dare you to taste this and not go back for seconds, because the first bite will have you questioning why you ever cooked in separate bowls. The sauce coats the tortillas like velvet, while the beans add a creamy contrast that feels like a comforting hug. This is hands down the best version you'll ever make at home.
And here's the kicker: the secret to that silky sauce? A splash of lime juice added at the very end, just before serving. It brightens the dish, cutting through the richness like a cool breeze on a hot day. Picture yourself pulling this out of the skillet, the whole kitchen smelling incredible, and your guests already lining up for a plate. Stay with me here— this is worth it. Let me walk you through every single step, and by the end, you'll wonder how you ever made it any other way.
What Makes This Version Stand Out
- Taste: The sauce is a bold blend of roasted tomatoes, chipotle, and a whisper of smoky paprika that hits the palate like a fireworks display— explosive yet balanced. It’s not just hot; it’s complex, with layers that unfold as you chew.
- Texture: The tortillas develop a crispy edge that shatters like thin ice when you bite, while the beans stay creamy and the chicken remains tender. The result is a textural symphony that keeps you coming back for more.
- Simplicity: One skillet, one pan, and a single pot of sauce— no separate baking dish, no multiple pans. The entire meal comes together in less than 45 minutes, making it perfect for a busy weeknight.
- Uniqueness: The addition of fresh cilantro and a squeeze of lime at the end gives the dish a bright, almost citrusy finish that sets it apart from your typical enchilada.
- Crowd Reaction: Friends who have tried this say it’s “the best enchilada I’ve ever had” and keep asking for the recipe. The dish is a crowd-pleaser that works for both meat lovers and vegetarians alike.
- Ingredient Quality: We use high‑quality, minimally processed ingredients: fresh tortillas, organic black beans, and a homemade or store‑bought enchilada sauce with no artificial additives.
- Cooking Method: The skillet technique locks in flavors and creates a caramelized crust on the tortillas without the need for an oven.
- Make‑Ahead Potential: You can assemble the skillet in advance and simply reheat in the oven or microwave, making it a perfect make‑ahead dinner for busy schedules.
Alright, let's break down exactly what goes into this masterpiece…
Inside the Ingredient List
The Flavor Base
The foundation of this skillet starts with a splash of olive oil that coats the pan and prevents the tortillas from sticking. A medium onion, finely diced, releases a sweet, caramelized aroma as it cooks. Two cloves of garlic, minced, add depth and a subtle heat that lingers long after the dish is plated. These aromatics form the bedrock of the sauce, infusing every bite with a savory backbone.
If you’re short on time, you can substitute the onion with a tablespoon of onion powder and the garlic with a pinch of garlic powder. However, fresh aromatics give a brighter, more vibrant flavor that’s hard to replicate. When you sauté the onion until it’s translucent, you’ll hear that satisfying sizzle— a cue that the base is ready for the next layer.
The Texture Crew
Black beans provide a creamy, protein‑rich component that balances the richness of the cheese and sauce. They’re drained and rinsed to remove excess sodium and to keep the texture smooth. A cup of fresh corn kernels adds a pop of sweetness and a subtle crunch that contrasts the beans’ softness. The corn also introduces a natural sweetness that cuts through the heat of the chipotle.
If you’re vegan or prefer a lighter option, swap the beans for chickpeas or lentils. The texture will change slightly, but the dish will retain its hearty feel. Remember, the beans should be soft but not mushy; they’ll hold their shape when folded into the tortillas.
The Unexpected Star
The protein— shredded chicken or tofu— adds a satisfying bite and makes the dish filling. For a leaner option, use skinless chicken breast or a block of firm tofu that’s been pressed and crumbled. The protein absorbs the sauce, becoming a savory, melt‑in‑your‑mouth centerpiece.
If you’re a vegetarian, tofu is a fantastic choice. Marinate it briefly in lime juice and cumin before cooking to give it extra flavor. If you’re a carnivore, a simple salt‑pepper seasoning works wonders. The key is to let the protein cook through before adding the sauce so it doesn’t become dry.
The Final Flourish
Enchilada sauce is the heart of this dish, combining roasted tomatoes, chipotle, cumin, and a dash of smoked paprika for depth. The sauce coats the tortillas and beans, creating a luscious, cohesive flavor profile. Add a cup of shredded cheese— Monterey Jack or cheddar— on top, allowing it to melt into a golden, gooey blanket that ties everything together.
Finish with a handful of fresh cilantro, a squeeze of lime, and a pinch of salt and pepper. These finishing touches brighten the dish and add a fresh, herbal note that lifts the richness of the cheese and sauce. If you’re feeling adventurous, garnish with sliced avocado for a creamy contrast that feels indulgent yet healthy.
Everything's prepped? Good. Let's get into the real action…
The Method — Step by Step
- Heat a large cast‑iron skillet over medium heat and drizzle in 2 tablespoons of olive oil. Once the oil shimmers, add the diced onion and cook until translucent, about 3–4 minutes. The aroma of caramelizing onions will fill your kitchen, setting the stage for flavor.
- Stir in the minced garlic and cook for an additional 30 seconds until fragrant. Watch out for the garlic to burn; a quick stir and a lower heat will keep it from turning bitter.
- Add the diced red bell pepper, corn kernels, and black beans. Sauté for 2–3 minutes, letting the vegetables soften while the beans begin to mingle with the aromatics. This is the moment of truth— the vegetables should be bright and lively.
- Fold in the shredded chicken or tofu, ensuring every bite is coated with the savory base. Cook for 3–4 minutes, allowing the protein to warm through and absorb the flavors.
- Pour in the enchilada sauce and stir until everything is evenly coated. Let the sauce simmer for 5 minutes, allowing the flavors to meld into a thick, glossy mixture that clings to the tortillas.
- Lay 8 corn tortillas flat on top of the sauce, pressing them slightly to ensure they are fully submerged. Sprinkle a generous amount of shredded cheese over the tortillas, then cover the skillet with a lid to let the cheese melt. The cheese should be golden and bubbly, a visual cue that the skillet is ready.
- Once the cheese is melted, remove the skillet from the heat. Sprinkle chopped cilantro, a squeeze of lime, and a pinch of salt and pepper over the top. The lime juice adds a bright, citrusy contrast that lifts the richness of the dish.
- Serve immediately, optionally topped with a dollop of sour cream or slices of avocado for extra creaminess. The skillet should look like a golden, cheesy masterpiece, ready to be devoured.
That's it — you did it. But hold on, I've got a few more tricks that'll take this to another level…
Insider Tricks for Flawless Results
The Temperature Rule Nobody Follows
Many cooks over‑cook the tortillas, making them soggy. The trick is to keep the heat moderate— medium‑low— during the final simmer. This ensures the tortillas crisp up just enough to hold their shape while absorbing the sauce. I once tried a high heat and ended up with a mushy mess that tasted like a soggy tortilla soup. Lesson learned: control the temperature, and the tortillas stay beautiful.
Why Your Nose Knows Best
As the sauce simmers, your nose will detect a subtle sweet undertone from the caramelized onions. This sweet aroma is a sign that the sauce has developed depth. If you smell a sharp, burnt scent, stop the skillet immediately. The sweet aroma is your cue that the flavors are balanced and ready to move forward.
The 5-Minute Rest That Changes Everything
After you remove the skillet from heat, let it rest for five minutes before serving. This brief pause allows the flavors to settle, the cheese to set into a creamy coating, and the tortillas to firm up slightly. I’ve seen people skip this step and end up with a gooey, unstructured mess. The rest period transforms the dish into a polished plate.
The Secret to Crispy Tortillas
If you’re not satisfied with the crispiness, try a quick sear on a separate pan before adding them to the skillet. Heat the tortillas in a dry skillet for 30 seconds on each side; this creates a golden crust that resists the sauce. The result is a satisfying crunch that contrasts beautifully with the creamy sauce.
The Lime Lift
A squeeze of lime at the end not only brightens the dish but also cuts through the richness of the cheese. The acidity balances the flavors and provides a fresh, clean finish. If you’re vegan, a splash of lime juice will still give the same bright lift without dairy.
Creative Twists and Variations
This recipe is a playground. Here are some of my favorite ways to switch things up:
Mexican Street Corn Skillet
Swap the corn kernels for grilled corn on the cob, cut into bite‑size pieces, and toss in a dash of chili powder and lime zest. The smoky, spicy corn adds an extra layer of flavor that feels like a taco truck in a skillet.
Greek‑Inspired Skillet
Replace the enchilada sauce with a tomato‑based sauce infused with oregano, garlic, and a splash of red wine. Add feta cheese and olives for a Mediterranean twist that still keeps the dish hearty and comforting.
Vegan Powerhouse
Use plant‑based cheese and a tofu or tempeh protein. Add spinach or kale for an extra nutrient boost. The result is a protein‑packed, dairy‑free dish that doesn’t sacrifice flavor.
Breakfast Skillet
Replace the tortillas with hash browns or small potato cakes. Add scrambled eggs or a fried egg on top. This variation transforms the dish into a hearty breakfast that’s perfect for brunch or a quick Sunday morning.
Low‑Carb Skillet
Swap the tortillas for cauliflower rice or zucchini noodles. Keep the beans optional or replace them with a handful of roasted chickpeas. The dish becomes a low‑carb, keto‑friendly option that still delivers on flavor.
Spicy Thai Skillet
Replace the enchilada sauce with a Thai red curry sauce and add sliced bell pepper and bamboo shoots. Top with fresh basil and a drizzle of coconut milk. The result is a spicy, aromatic dish that takes you on a culinary trip to Thailand.
Storing and Bringing It Back to Life
Fridge Storage
Cool the skillet to room temperature, then cover tightly with foil or an airtight container. Store in the refrigerator for up to 3 days. When you’re ready to eat, reheat on the stovetop over low heat, stirring occasionally, until warmed through.
Freezer Friendly
Divide the skillet into meal‑prep portions in freezer‑safe containers. Freeze for up to 2 months. To reheat, thaw overnight in the refrigerator, then microwave on medium for 3–4 minutes, stirring halfway through.
Best Reheating Method
Add a splash of water or broth before reheating to prevent the dish from drying out. Cover the skillet to trap steam, allowing the sauce to stay silky and the tortillas to soften just enough. The result is a dish that tastes almost as fresh as when it was first made.