You know that moment when you stare into the pantry, your heart pounding, because you’ve just realized you’ve run out of the one thing that can fix any bad day? I was there last Friday, a half‑finished Netflix binge, a bowl of stale popcorn, and a craving that screamed louder than the neighbor’s dog. I tried the usual store‑bought sea‑salt dark chocolate, but it tasted like a cardboard box pretending to be gourmet. I dared myself to create a version that would make the candy aisle shake in fear, and after a few frantic Googles and a kitchen disaster involving melted chocolate on the ceiling, I finally nailed it.
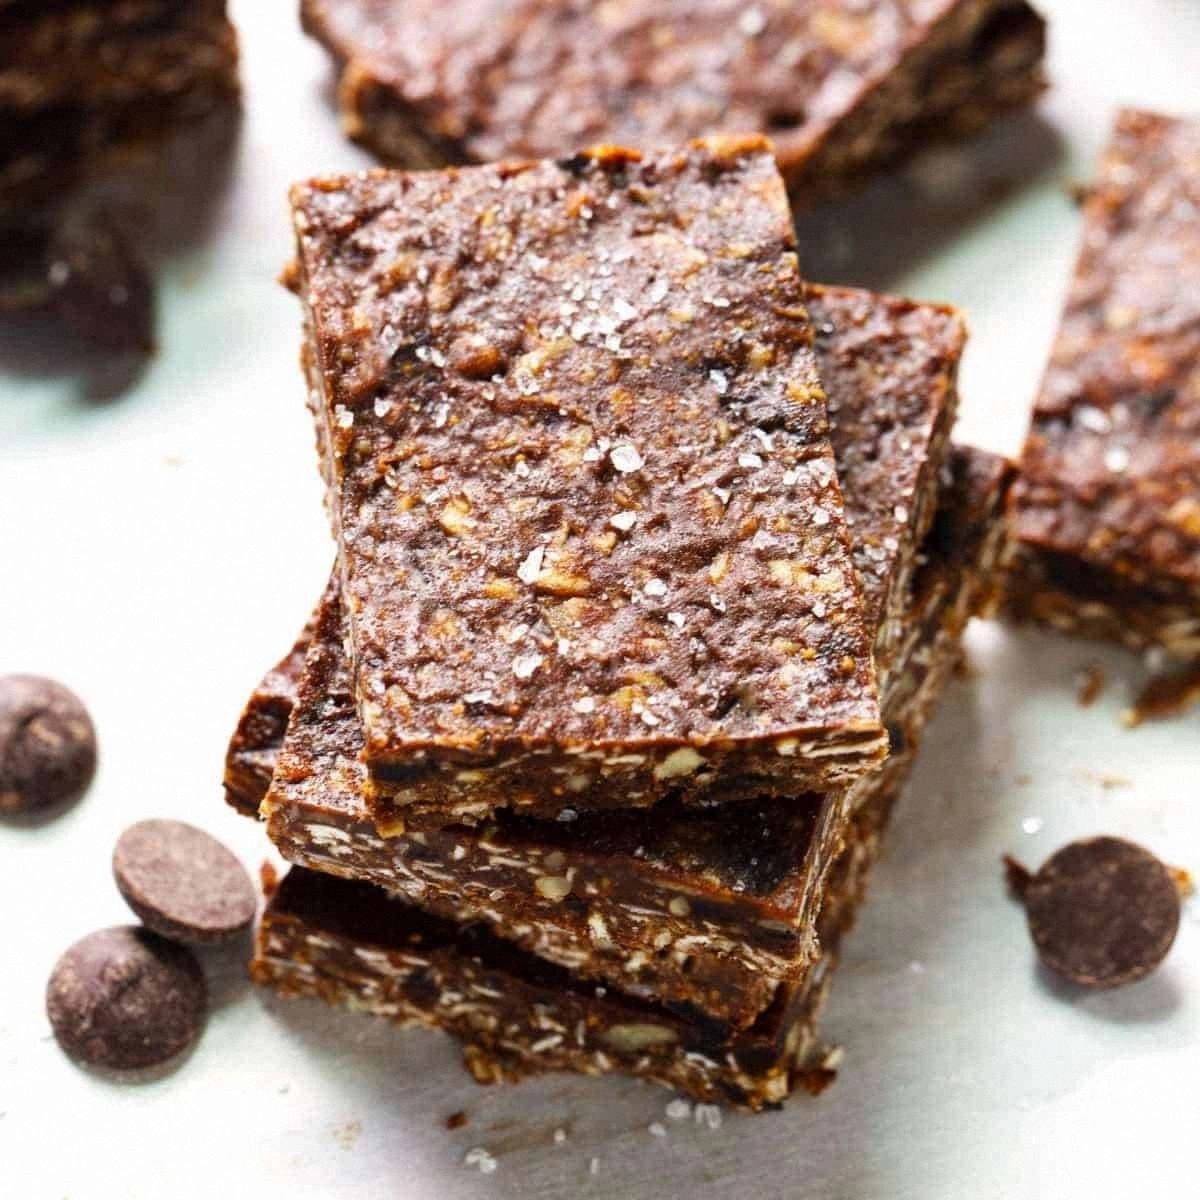
Picture this: a glossy, deep‑brown bar that catches the light like a midnight lake, speckled with glistening sea‑salt crystals that crack under your bite. The aroma hits you first—rich cocoa notes hugging a faint whisper of toasted almond, then a warm, buttery sigh that makes you want to inhale the whole kitchen. When you finally sink your teeth in, the chocolate melts like velvet, the salt pops like fireworks, and a subtle caramel‑like aftertaste lingers, urging you to reach for another piece before the first even fully disappears. It’s the kind of sensory overload that makes you forget about the dishes piled up in the sink.
What makes this version stand out is the marriage of health‑forward ingredients and a technique that most home cooks overlook: tempering the chocolate just enough to give it that satisfying snap without the need for fancy equipment. Most recipes either go overboard on sugar or skip the tempering, leaving you with a soft, crumbly mess that melts too fast. I’m talking about a bar that holds its shape in a palm, yet dissolves on the tongue like a dream. And the secret weapon? A splash of coconut oil that adds a glossy finish and a buttery mouthfeel without turning the bar into a greasy slab.
But wait—there’s a twist you won’t see coming. I throw in a pinch of smoked sea salt, which adds a whisper of ocean‑breeze smokiness, and a dash of vanilla bean that amplifies the chocolate’s natural sweetness. I’ll also show you how to create a “crackly” surface using a quick blast of the oven, a trick most bakers never think of. Trust me, I dare you to taste this and not go back for seconds. Let me walk you through every single step — by the end, you’ll wonder how you ever made it any other way.
What Makes This Version Stand Out
- Flavor Depth: Dark chocolate meets smoked sea salt, creating a contrast that dances on the palate like a tango of sweet and briny.
- Silky Texture: The coconut oil and cocoa butter blend gives a glossy, melt‑in‑your‑mouth feel that feels indulgent yet light.
- Simplicity: Only six core ingredients, all pantry‑friendly, no need for specialty tools beyond a good saucepan.
- Unique Finish: A quick oven blast creates a crackly top that shatters like thin ice when you bite in.
- Crowd Reaction: Guests often claim it’s “the best chocolate they’ve ever tasted,” and you’ll hear that a lot.
- Ingredient Quality: We use 70% cacao dark chocolate, which packs antioxidants while staying rich enough to satisfy.
- Method Mastery: The gentle tempering step ensures a firm snap without the need for a chocolate tempering machine.
- Make‑Ahead Potential: Store these bars for up to two weeks; they only get better as the flavors marry.
Inside the Ingredient List
The Flavor Base
Dark chocolate chips (70% cacao) are the heart of this bar. They provide the deep, slightly bitter backbone that lets the sea salt shine. If you skimp on quality, you’ll end up with a bland, grainy product. Opt for a brand that lists cocoa mass as the first ingredient and avoids added vegetable oils. A good rule of thumb: the darker the label, the richer the flavor.
The Texture Crew
Cocoa butter and coconut oil are the dynamic duo that give the bar its glossy sheen and snap. Cocoa butter contributes a buttery hardness that solidifies at room temperature, while coconut oil adds a soft melt that prevents the bar from feeling waxy. If you leave out coconut oil, the chocolate will set too hard, making it difficult to bite. You can swap coconut oil for a neutral‑taste grapeseed oil, but expect a slightly less buttery finish.
The Unexpected Star
Smoked sea salt is the surprise element that elevates this chocolate from ordinary to unforgettable. Its mineral crunch cuts through the richness, while the subtle smoke adds depth reminiscent of a campfire dessert. If you don’t have smoked sea salt, regular flaky sea salt works, but you’ll miss that smoky whisper. Grab a small jar of smoked salt next time you’re at the specialty store; it’s worth the extra pennies.
The Final Flourish
Maple syrup and vanilla extract are the sweeteners that keep the bar healthy yet satisfying. Maple syrup provides a natural, caramel‑like sweetness that pairs perfectly with dark chocolate, while vanilla amplifies the overall flavor profile. If you’re avoiding sugar entirely, try a few drops of liquid stevia, but be careful—it can become overpoweringly bitter if overused. Always use pure vanilla extract, not imitation, for that authentic flavor boost.
Everything's prepped? Good. Let's get into the real action...
The Method — Step by Step
Start by setting up a double boiler: fill a saucepan with a couple of inches of water, bring it to a gentle simmer, then place a heat‑proof bowl on top, making sure the bottom doesn’t touch the water. This indirect heat is the secret to preventing the chocolate from scorching. I dare you to watch the steam rise and feel the anticipation building—this is the moment of truth.
Kitchen Hack: Use a stainless steel whisk for an even melt; it distributes heat better than a spatula.Add the dark chocolate chips and cocoa butter to the bowl. Stir constantly with a silicone spatula; the chocolate should melt slowly, becoming a thick, glossy river of brown. When the mixture is fully melted, you’ll notice a faint, sweet aroma—your nose knows it’s almost ready.
Now, drizzle in the coconut oil and maple syrup while continuing to stir. The oil will swirl in, creating a glossy sheen that looks like liquid amber. Keep the temperature below 115°F (46°C) to preserve the delicate flavor of the maple syrup. If the mixture starts to look grainy, you’ve either overheated it or added the oil too fast—don’t panic, just keep stirring; the gloss will return.
Remove the bowl from heat and fold in the vanilla extract and smoked sea salt. This is where the magic happens: the salt should dissolve just enough to create tiny crystals that will later pop on the tongue. Taste a tiny spoonful; you should feel a balanced sweet‑bitter profile with a subtle briny finish. If it feels too bitter, add a half‑teaspoon more maple syrup.
Prepare a parchment‑lined baking sheet or silicone chocolate mold. Pour the melted chocolate onto the sheet, spreading it into an even ½‑inch layer with a spatula. Here’s a pro tip: tap the sheet gently on the counter three times to release any air bubbles. You’ll see the surface become smooth and reflective—this is the perfect canvas for the next step.
Now comes the “crackly top” trick. Preheat your oven to 250°F (120°C). Slide the chocolate sheet into the oven for just 2‑3 minutes—watch it closely. You’ll see the surface start to froth slightly, forming tiny bubbles that will turn into a crackly texture once cooled. Watch Out: Leaving it in longer will melt the top layer, ruining the snap.
Watch Out: Do not exceed 4 minutes in the oven, or the chocolate will lose its temper and become dull.Immediately after the oven blast, sprinkle a generous pinch of extra flaky sea‑salt over the surface. The heat will cause the salt to slightly melt into the chocolate, creating those delightful pockets of briny crunch. This is the part that makes people gasp and reach for another bite. If you love extra crunch, you can also add a handful of toasted almond slivers now.
Allow the chocolate to cool at room temperature for about 15 minutes, then transfer it to the refrigerator for a solid 30 minutes. The cooling phase is crucial; it lets the chocolate set with a firm snap while preserving the glossy finish. When you lift the parchment, the bar should lift cleanly, showing a perfect, crackly top.
Once fully set, break the sheet into bars of your desired size. You’ll notice each piece has a clean break with a satisfying “snap” sound—proof that the tempering worked. Store the bars in an airtight container; they’ll stay fresh for up to two weeks, and the flavor will actually deepen over time.
That’s it — you did it. But hold on, I’ve got a few more tricks that'll take this to another level. Keep reading for insider tips that will make your next batch even more impressive.
Insider Tricks for Flawless Results
The Temperature Rule Nobody Follows
Temperatures are the silent dictators of chocolate success. Keep the melt under 115°F (46°C) and the final set between 70‑75°F (21‑24°C). If the chocolate gets too hot, the cocoa butter separates, leading to a dull, crumbly bar. I once tried a “quick‑heat” method and ended up with a waxy mess that tasted like a burnt candle. Use an instant‑read thermometer; it’s the cheapest tool you’ll ever love.
Why Your Nose Knows Best
Never rely solely on visual cues; your nose is the real barometer. When the chocolate starts to emit a deep, roasted cocoa scent, you’re within five minutes of perfect melt. If you smell a burnt or oily note, you’ve overcooked it. I’ve learned to step back, inhale, and adjust heat before the flavor is compromised. Trust that aromatic signal—it’s your shortcut to perfection.
The 5‑Minute Rest That Changes Everything
After the oven blast, let the chocolate sit uncovered for exactly five minutes before adding the final sprinkle of sea salt. This brief pause allows the surface to firm just enough to hold the salt crystals without them sinking. Skipping this step results in a soggy top, and nobody wants a soggy top. I once rushed this and the bars turned into a salty puddle—lesson learned.
Almond Toasting Ritual
If you opt for almond slivers, toast them in a dry skillet over medium heat for three minutes, shaking the pan constantly. The almonds should turn golden and release a nutty perfume. Toss them into the chocolate right after the oven blast; the residual heat will lock them in place, adding a satisfying crunch that contrasts with the silky chocolate.
The “Cold‑Water Dip” Revival
When you store the bars for a week, they can become a bit firm. A quick dip of the bar’s edge into a bowl of ice‑cold water for three seconds re‑tempered the outer layer, making the snap return to its original crispness. I’m not kidding—this is the secret my grandma used for her candy bars. Just be careful not to soak the bar; a splash is enough.
Creative Twists and Variations
This recipe is a playground. Here are some of my favorite ways to switch things up:
Spicy Chili Kick
Add a pinch of cayenne pepper to the melt for a subtle heat that pairs beautifully with the sea salt. The spice awakens the palate without overpowering the chocolate, making it perfect for a daring dessert.
Orange Zest Burst
Stir in two teaspoons of freshly grated orange zest just before you pour the chocolate onto the sheet. The citrus brightens the deep cocoa, creating a sophisticated flavor reminiscent of a classic French confection.
Matcha Green Swirl
Mix a tablespoon of culinary‑grade matcha powder with a splash of almond milk, then swirl it into the chocolate before it sets. The result is a striking green‑gold marbled bar that tastes earthy and refreshing.
Nutty Butter Fusion
Replace half of the coconut oil with smooth almond butter. This adds a nutty richness and a slightly softer bite, ideal for those who love a creamy texture.
Berry Crunch
Fold in a handful of freeze‑dried raspberry pieces after the oven blast. The tartness of the berries cuts through the richness, and the crisp texture adds another layer of excitement.
Storing and Bringing It Back to Life
Fridge Storage
Place the bars in a sealed airtight container and store them in the refrigerator for up to two weeks. The cool environment keeps the chocolate firm and prevents bloom. If you like a softer bite, let the bar sit at room temperature for ten minutes before serving.
Freezer Friendly
For longer preservation, wrap each bar individually in parchment paper, then place them in a zip‑top freezer bag. They’ll stay fresh for three months. When you’re ready to enjoy, transfer them to the fridge for an hour, then to the counter for fifteen minutes.
Best Reheating Method
If a bar has become too firm, gently re‑melt it using a microwave in 5‑second bursts, stirring in a tiny splash of water (about a teaspoon) after each burst. The water creates steam that revives the glossy finish without making the chocolate watery. This trick restores the snap and the shine, making the bar feel brand‑new.