The moment I slipped a spoon into a pot of molten chocolate and watched it swirl, I knew I was on the brink of a revelation. I was halfway through a dinner party, the guests were murmuring about the dessert table, and my kitchen smelled like a chocolate factory on a hot summer day. That single spoonful—rich, velvety, with a hint of peanut butter that clung to the back of my tongue—told me that I had just stumbled into the ultimate peanut butter ice. I didn’t even need a fancy kitchen gadget; just a pot, a whisk, and a fearless spirit. I dared you to taste this and not go back for seconds, and the result was a dessert that feels like a chocolate‑graham bar with a silky center that melts in your mouth while the crunch stays crisp, like a snowflake that refuses to melt. If you’ve ever struggled with a peanut butter dessert that ends up too sweet or too dry, you’re not alone—this recipe is a game‑changer that will have your friends asking for the recipe after the last bite. Picture yourself pulling this out of the oven, the whole kitchen smelling incredible, and the guests’ eyes widening as the glossy chocolate glaze catches the light. Let me walk you through every single step—by the end, you’ll wonder how you ever made it any other way.
What Makes This Version Stand Out
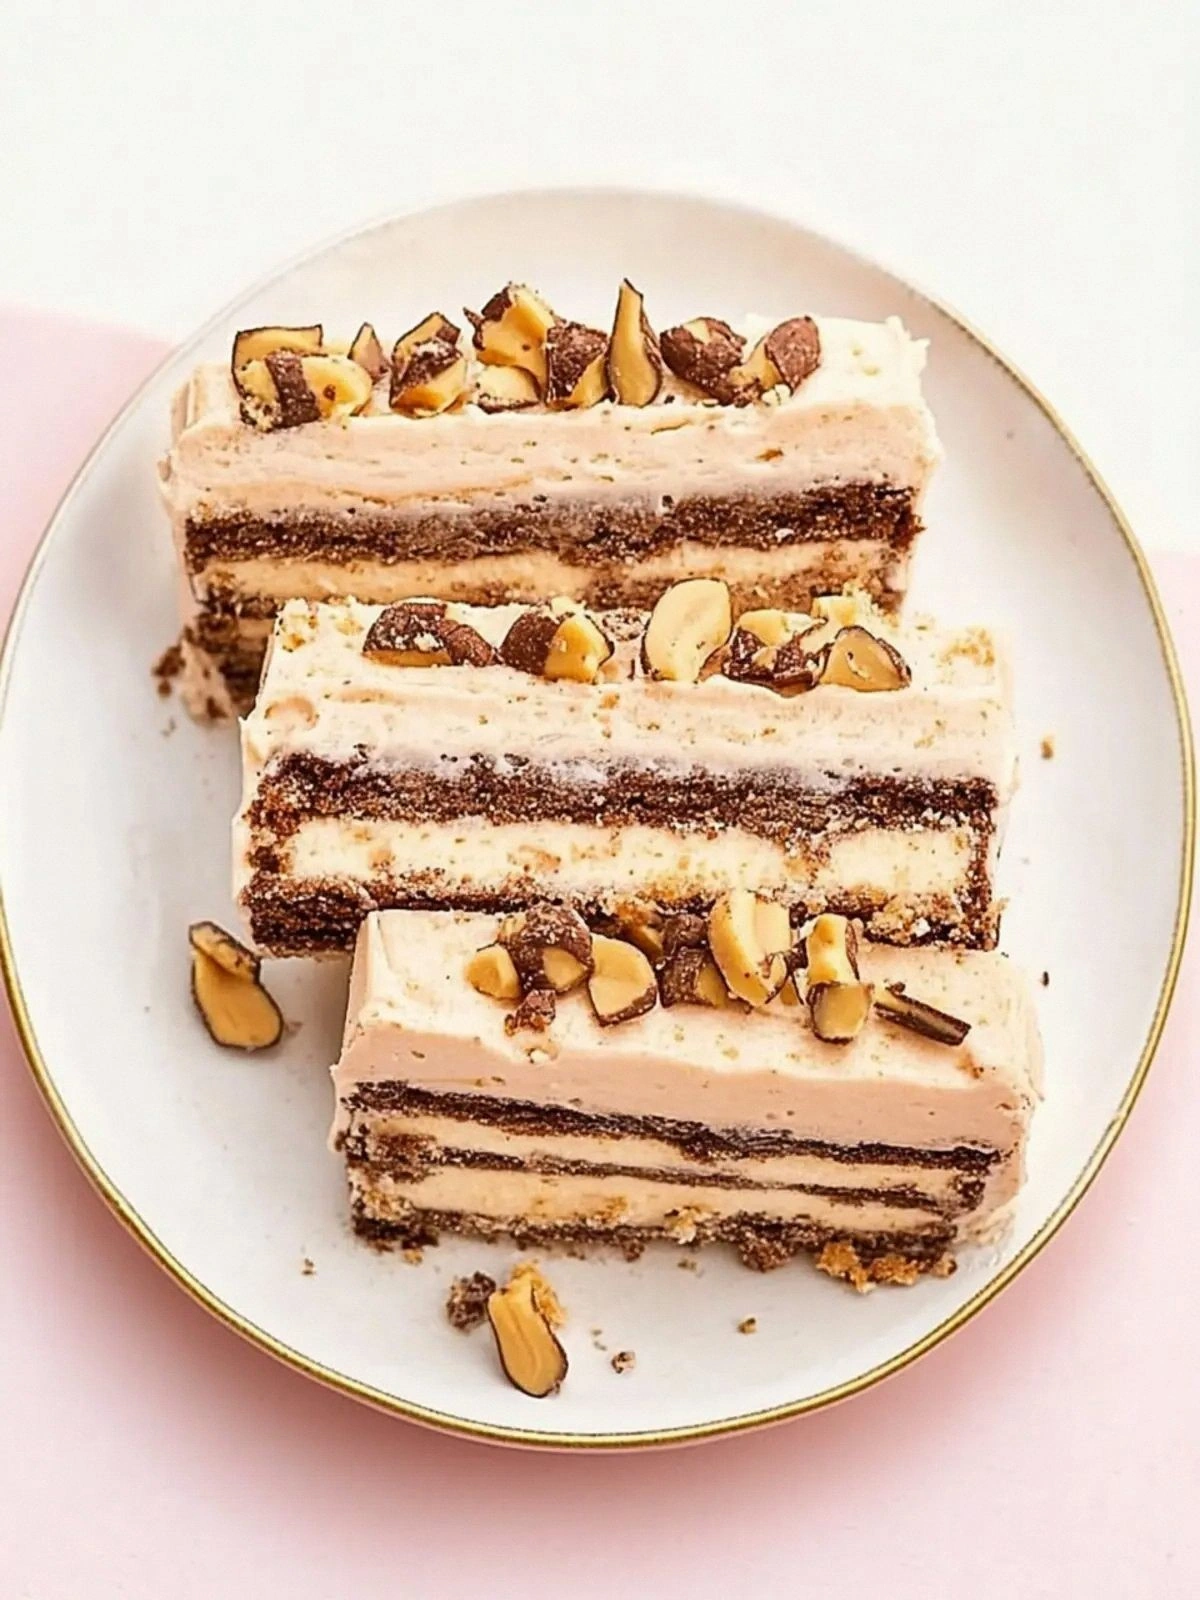
- Flavor: The bittersweet chocolate anchors the dessert in deep, complex cocoa, while the smooth peanut butter adds a silky, nutty undertone that balances the sweetness.
- Texture: A perfect blend of melt‑in‑your‑mouth chocolate, crunchy graham crackers, and crisp peanut butter cups delivers a multi‑sensory experience.
- Visual Appeal: The glossy chocolate glaze and scattered peanut butter cups create a striking contrast that invites the first bite.
- Ingredient Quality: Using high‑quality chocolate and honey‑roasted peanuts elevates the flavor profile beyond ordinary peanut butter desserts.
- Make‑Ahead Friendly: The dessert can be assembled a day in advance, allowing the flavors to meld and the glaze to set beautifully.
- Party‑Ready: It looks elegant on a platter, and the portion size makes it perfect for sharing at gatherings.
- Simple Method: No baking required—just a few stovetop steps and a little patience, making it accessible for beginners.
- Versatile: The base can be tweaked with different nuts or flavored creams for endless variations.
Alright, let’s break down exactly what goes into this masterpiece.
Inside the Ingredient List
The Flavor Base
The 8 ounces of bittersweet chocolate are the heart of this dessert. They provide a deep, bittersweet foundation that balances the natural sweetness of the powdered sugar and the peanut butter. If you skip the chocolate, you lose that complex, velvety mouthfeel and the dessert becomes a plain peanut butter fudge. For a milder flavor, you could swap in milk chocolate, but be prepared for a sweeter, less sophisticated outcome.
The 1 cup of heavy cream used in the chocolate mixture is what gives the sauce its silky texture. Heavy cream carries the chocolate’s richness and ensures it coats the palate like velvet. If you’re looking for a lower‑fat version, try half‑and‑half, but the sauce will be thinner and may not set as firmly.
The Texture Crew
The 1 cup of smooth peanut butter is the star of the show, delivering a creamy, nutty flavor that lingers on the tongue. It also acts as a binder, helping the chocolate glaze hold together. If you prefer a crunchy texture, replace half of the peanut butter with roasted peanuts, but keep in mind that the sauce will be less cohesive.
The 1 cup of powdered sugar brings the necessary sweetness, but it also contributes to the glaze’s glossy finish. Using a fine, sifted sugar ensures there are no gritty pockets that could ruin the silky mouthfeel. If you’re watching sugar intake, you can replace it with a sugar substitute that behaves similarly in heat.
The Unexpected Star
The 2 cups of cold heavy cream, divided, are the secret to achieving a stable, pourable glaze that sets quickly. The cold temperature prevents the chocolate from blooming, keeping the glaze glossy. If you’re in a hurry, you can use room‑temperature cream, but the glaze may take longer to set.
The 1 sleeve of chocolate graham crackers, broken in half, adds a delightful crunch that contrasts the smoothness of the glaze. They also provide a subtle chocolate flavor that complements the bittersweet chocolate. If you can’t find graham crackers, try crushed chocolate wafer cookies for a similar effect.
The Final Flourish
The 18 to 20 mini peanut butter cups, coarsely chopped, give the dessert a playful, candy‑bar vibe. They melt into the glaze, creating pockets of peanut butter that burst with flavor. If you’re looking for a less sweet finish, use dark chocolate peanut butter cups.
The 1 cup of heavy cream, divided, is used in the topping layer to create a glossy finish that looks like a chocolate glaze. This step ensures the dessert is visually stunning and adds an extra layer of richness. If you’re aiming for a lighter dessert, substitute with coconut milk for a subtle tropical note.
Finally, the 1/4 cup honey roasted peanuts add a caramelized crunch that provides a contrasting texture and a sweet, smoky flavor. They also help anchor the dessert so it doesn’t become too soft. If you’re allergic to peanuts, substitute with slivered almonds or cashews.
Everything's prepped? Good. Let's get into the real action.
The Method — Step by Step
- Heat the Chocolate: In a medium saucepan, combine the 8 ounces of finely chopped bittersweet chocolate with 1 cup of heavy cream. Heat over medium heat, stirring constantly, until the chocolate is fully melted and the mixture is smooth. Watch the sauce; it should become glossy and pourable. This step is the foundation—skip it and the dessert loses its silky base.
- Stir in Peanut Butter: Add the 1 cup of smooth peanut butter to the chocolate mixture. Whisk until the peanut butter is fully incorporated and the sauce is thick but still pourable. The peanut butter should blend seamlessly, creating a creamy texture that coats every surface.
- Sweeten: Sprinkle in the 1 cup of powdered sugar, a handful at a time, whisking after each addition. The sugar dissolves into the sauce, giving it a subtle sweetness and a shiny glaze. The sauce should have a silky sheen that catches the light.
- Cool the Base: Remove the saucepan from heat and let the chocolate‑peanut butter mixture cool to room temperature. This prevents the cream from separating when you add the cold heavy cream later. I dare you to taste this and not go back for seconds—once it’s cool, it’s pure decadence.
- Add Cold Cream: Gradually fold in 1 cup of the cold heavy cream, followed by the remaining 1 cup of cold heavy cream. Stir gently until the mixture is smooth and the glaze has a slightly thicker consistency. The cold cream sets the glaze, giving it the right viscosity to coat the crackers.
- Prepare the Crunch: Toss the broken chocolate graham crackers and the coarsely chopped mini peanut butter cups into a bowl. Add the 1/4 cup honey roasted peanuts. Stir until everything is evenly coated with the chocolate glaze. The crunchy elements should be evenly distributed, so each bite has a balanced mix.
- Assemble: Line a loaf pan or a shallow dish with parchment paper. Spoon a thin layer of the chocolate glaze into the bottom, then sprinkle a generous amount of the crunchy mixture. Repeat the layers until the dish is full, finishing with a top layer of glaze. Press gently to ensure the layers adhere.
- Chill: Cover the assembled dessert with plastic wrap and refrigerate for at least 2 hours, or overnight if you’re planning ahead. The chilling process allows the glaze to set firmly, giving the dessert a firm yet melt‑in‑your‑mouth texture.
- Serve: Slice the dessert into thick, generous pieces. The layers should hold together, but the chocolate glaze will melt slightly on the warm plate, creating a luscious drizzle. If you’re serving immediately, the glaze will still be slightly glossy, giving a fresh, indulgent look.
That’s it—you did it. But hold on, I’ve got a few more tricks that will take this to another level.
Insider Tricks for Flawless Results
The Temperature Rule Nobody Follows
Chocolate is unforgiving when it comes to temperature. If the chocolate gets too hot, it can seize and become grainy. Keep the heat low and stir constantly. If you’re in a hurry, use a double boiler to maintain a gentle, even heat.
Why Your Nose Knows Best
Before you add the powdered sugar, give the sauce a quick sniff. A sweet, chocolatey aroma indicates the mixture is ready. If it smells more like burnt sugar, give it another minute of gentle heat.
The 5-Minute Rest That Changes Everything
After folding in the cold heavy cream, let the mixture sit for exactly five minutes. This pause allows the fats to emulsify fully, resulting in a silky, stable glaze that won’t separate when chilled.
Layering Like a Pro
When adding the crunchy mixture, press it lightly into the glaze. This compacts the layers and ensures each bite has the same ratio of crunch to smoothness. A gentle tap on the pan can also help settle the layers.
Serving Temperature Matters
Serve the dessert at a slightly chilled temperature. If you let it sit at room temperature for too long, the glaze will become too soft and the crunchy elements may lose their snap.
Creative Twists and Variations
This recipe is a playground. Here are some of my favorite ways to switch things up:
Chocolate‑Mint Explosion
Add a teaspoon of peppermint extract to the chocolate glaze. The mint will cut through the sweetness and add a refreshing aftertaste that pairs beautifully with the peanut butter.
Nutty Layer Swap
Replace the honey roasted peanuts with chopped pistachios or toasted almonds. The different nut profiles will give each bite a unique flavor and texture.
Cocoa Powder Dusting
Finish the dessert with a dusting of unsweetened cocoa powder. This adds a subtle bitterness that balances the richness of the chocolate glaze.
Salted Caramel Swirl
Swirl in a spoonful of salted caramel sauce before chilling. The caramel adds a buttery sweetness and a hint of sea salt that enhances the peanut butter flavor.
Vegan Version
Swap the heavy cream for coconut cream, use dairy‑free peanut butter, and choose a dairy‑free chocolate. The result is a luscious, plant‑based dessert that still delivers on texture.
Mini Dessert Cups
Instead of a loaf pan, use a muffin tin and fill each cup with the glaze and crunchy layers. Bake the cups for 10 minutes at 350°F to create a crispy exterior, then chill. These are perfect for parties.
Storing and Bringing It Back to Life
Fridge Storage
Store the dessert in an airtight container in the refrigerator for up to 5 days. Keep the parchment paper in place to maintain the layers and prevent sticking. When ready to serve, let it sit at room temperature for 10 minutes to soften slightly.
Freezer Friendly
Wrap the dessert tightly in plastic wrap and then in aluminum foil before freezing. It will keep for up to 3 months. Thaw in the refrigerator overnight, then let it sit at room temperature for 15 minutes before serving.
Best Reheating Method
To revive a chilled dessert, place a slice in a microwave-safe bowl and heat on low for 10–15 seconds. If the glaze looks too thick, add a splash of milk or coconut milk and stir. A tiny splash of water before reheating steams the glaze back to perfection.