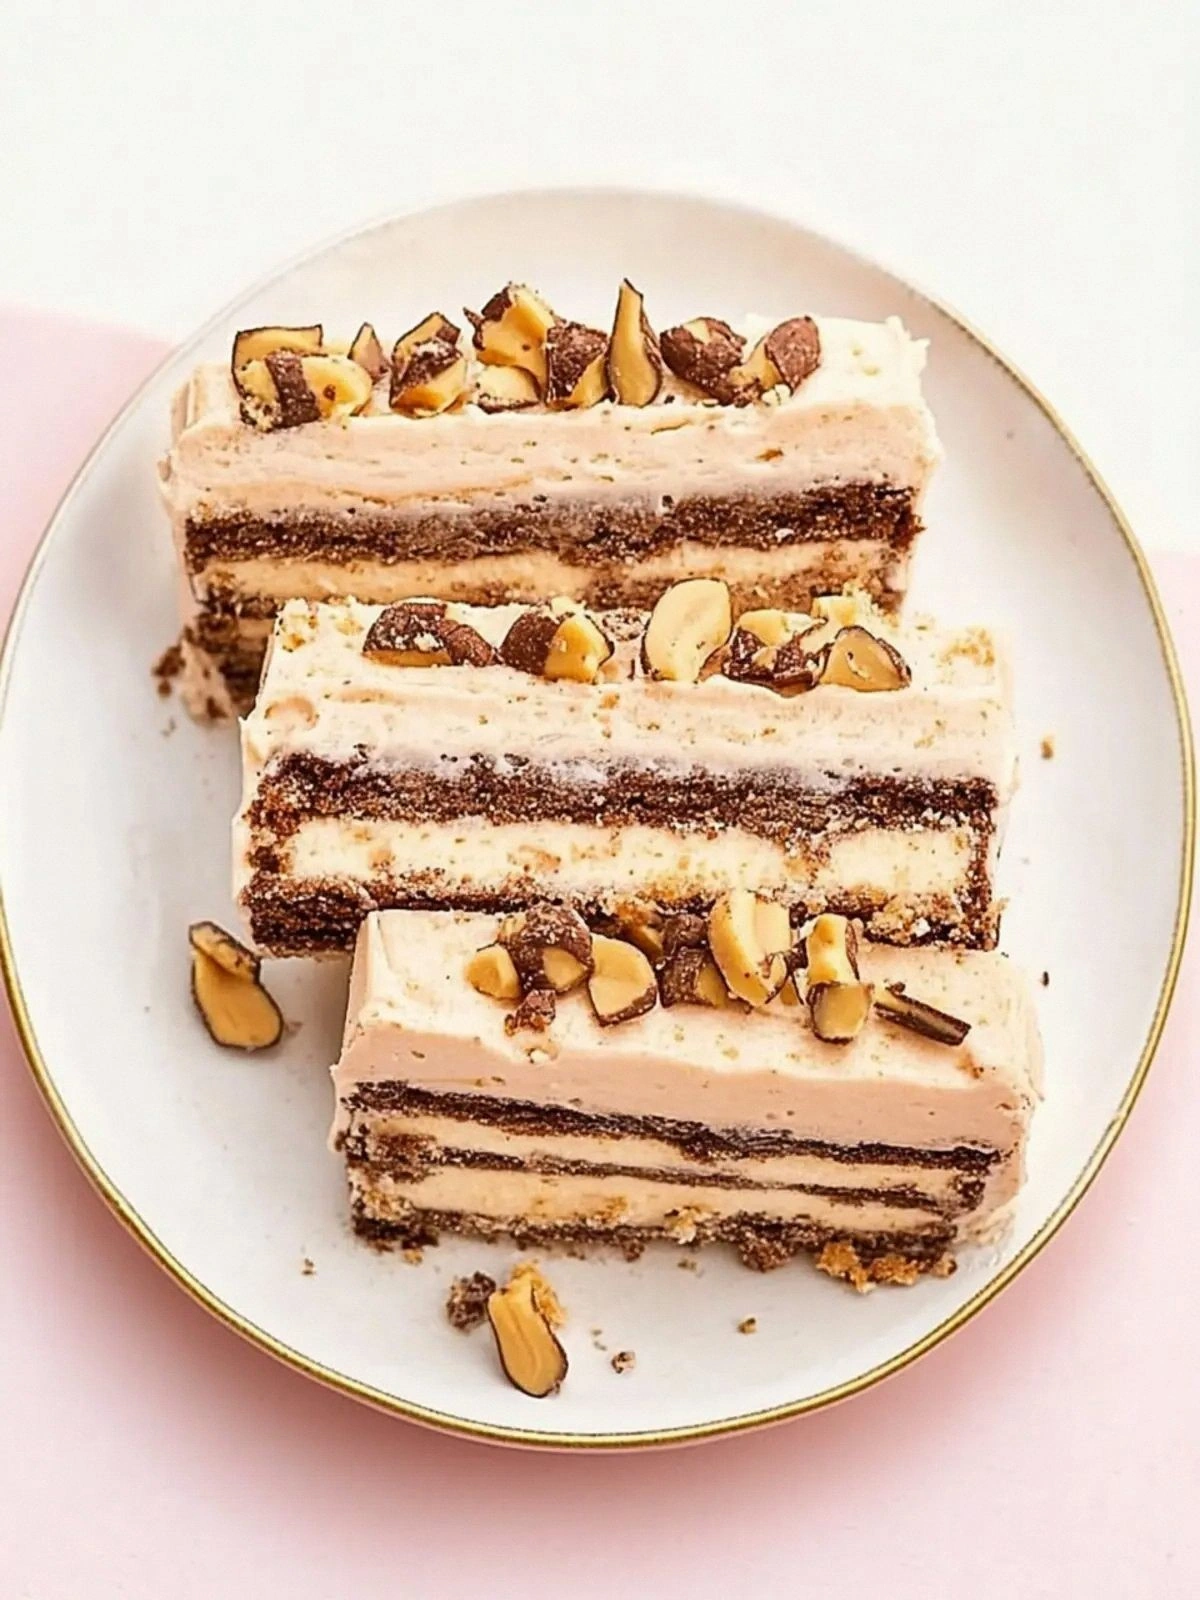
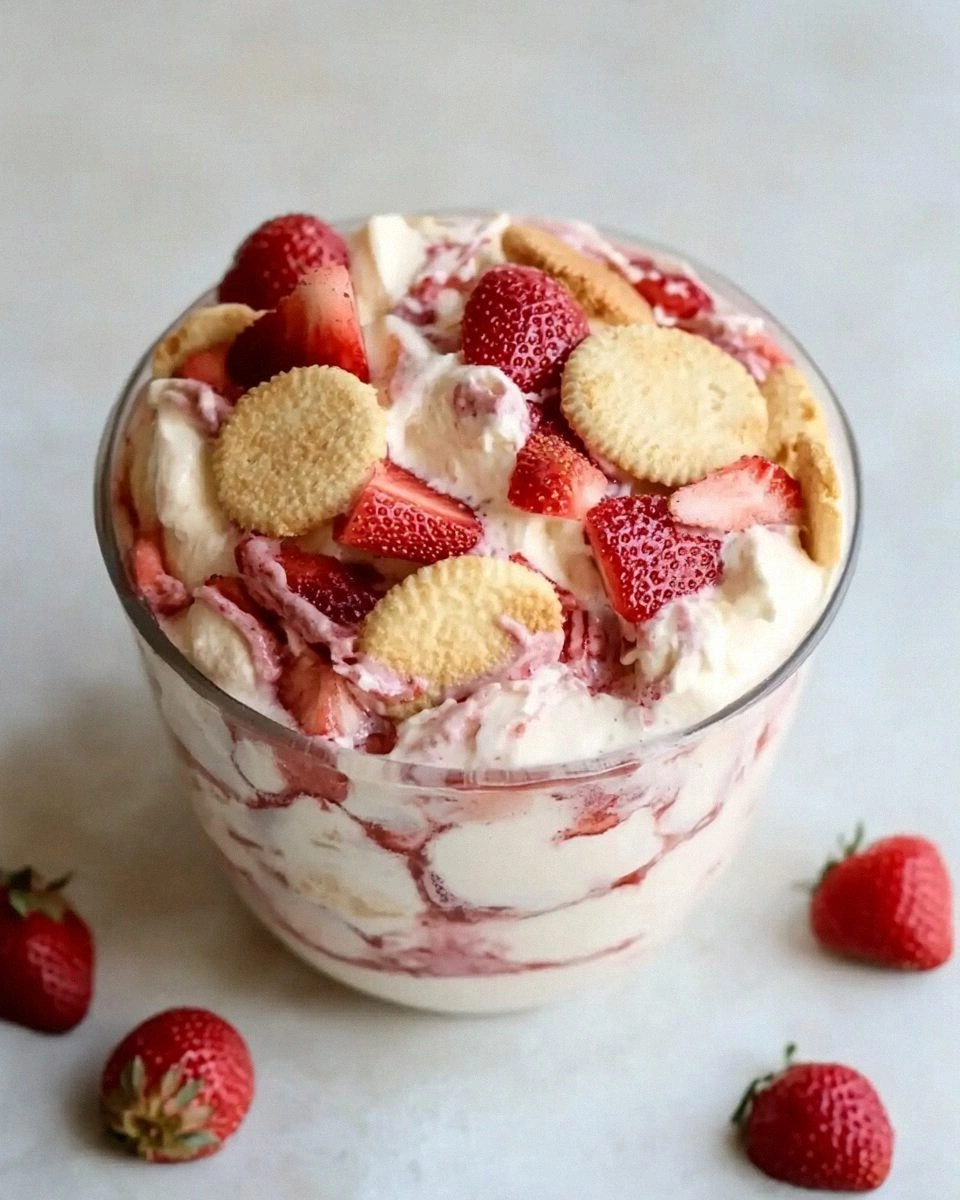
I still remember the night I was chasing a midnight craving for something sweet and light, and I stumbled into a kitchen that smelled like vanilla, butter, and fresh strawberries. The dish that emerged was a mess of flour, sugar, and half‑baked batter that I was about to toss aside when a sudden burst of strawberry aroma made me pause. I dared myself to finish it, and the result was a creamy, cloud‑soft pudding that sat atop a crisp, buttery shortcake base, all drizzled with a sweet strawberry glaze. If you’ve ever felt the urge to turn an ordinary dessert into a showstopper, this is the recipe that will satisfy that itch and then some. I dare you to taste this and not go back for seconds.
Picture yourself pulling this from the oven: the kitchen is filled with the warm, buttery scent of a freshly baked shortcake, and the steam rising from the bubbling strawberry glaze carries a faint citrus note from the zest. The sound of the batter bubbling in the pan is like a gentle lullaby, and when you break through the top with a spoon, a ribbon of silky pudding peels away, revealing the golden crust underneath. The first bite is an explosion of flavors: the sweet, almost tart strawberries mingle with the subtle vanilla, while the shortcake provides a buttery crunch that gives the dessert a satisfying bite. The texture is a dream—soft, airy, and slightly custard‑like, with a delicate balance that keeps you coming back for more. This is hands down the best version you'll ever make at home.
Most recipes get this completely wrong. They either bake the cake too long, leaving it dry, or they over‑cook the pudding, making it thick and chalky. I’ve spent years tweaking this recipe, and I’ve finally cracked the secret to a pudding that is both luscious and light, a shortcake that stays moist and tender, and a glaze that glistens like a summer sunrise. The key is a simple technique that I discovered during a late‑night experiment: baking the shortcake at a slightly lower temperature and letting the pudding rest for five minutes before serving. The result is a dessert that looks like it belongs on a five‑star menu, yet you can make it in your own kitchen in under an hour. If you've ever struggled with this, you're not alone — and I've got the fix.
Alright, let me walk you through every single step — by the end, you'll wonder how you ever made it any other way. Stay with me here — this is worth it.
What Makes This Version Stand Out
- Flavor: The combination of fresh strawberries and a hint of lemon zest elevates the classic shortcake to a fresh, summery delight that feels both nostalgic and contemporary.
- Texture: A light, airy cake paired with a silky pudding creates a contrast that is both comforting and sophisticated.
- Ease: The recipe requires only one pan and one bowl, making it a breeze even for novice bakers.
- Versatility: Swap out the strawberries for blueberries or mangoes, and you have an entirely new dessert with minimal effort.
- Crowd‑pleaser: This dessert is guaranteed to wow family and friends—whether it’s a birthday, a brunch, or an after‑dinner treat.
- Ingredient Quality: Using real butter, fresh eggs, and whole milk rather than substitutes gives the pudding a depth of flavor that store‑bought mixes can’t match.
- Make‑ahead Potential: The pudding can be prepared up to 24 hours ahead, letting you focus on the final assembly when guests arrive.
- Presentation: A glossy strawberry glaze and a dusting of powdered sugar transform a simple dessert into an Instagram‑worthy masterpiece.
Alright, let's break down exactly what goes into this masterpiece...
Inside the Ingredient List
The Flavor Base
The foundation of any great dessert is its flavor base. In this recipe, that starts with the buttery shortcake batter. The flour, baking powder, and salt give structure, while the vanilla extract infuses a warm, aromatic note that balances the bright strawberry. Skipping the vanilla would leave the cake feeling flat; you would lose that subtle depth that makes the dessert feel complete. If you’re looking for a twist, try adding a teaspoon of almond extract for an extra layer of complexity.
The Texture Crew
Texture is everything in pudding. The heavy cream and milk combine to create a silky custard that coats the tongue like velvet. The eggs act as binders, ensuring the pudding sets without becoming rubbery. If you omit the eggs, the pudding will be runny and won't hold its shape when you serve it. For a lighter version, you can replace half the heavy cream with coconut milk, but the richness will be noticeably different.
The Unexpected Star
Fresh strawberries are the unsung hero of this dessert. Their natural sweetness and slight acidity cut through the richness of the pudding, creating a harmonious balance. If you’re in a pinch, frozen strawberries can be used, but be sure to thaw and drain them thoroughly to avoid excess liquid. The strawberries also provide a pop of color that makes the dish visually stunning.
The Final Flourish
The powdered sugar dusting and the lemon zest garnish add a finishing touch that elevates the dessert from good to unforgettable. The powdered sugar adds a subtle sweetness that complements the tartness of the strawberries, while the lemon zest brightens the overall flavor profile. If you’re feeling adventurous, a splash of bourbon or a pinch of sea salt can add an unexpected depth.
Everything's prepped? Good. Let's get into the real action...
The Method — Step by Step
- Preheat your oven to 350°F (175°C). Line a 9-inch square baking pan with parchment paper, leaving an overhang on two sides for easy removal. This simple step ensures the shortcake stays moist and makes cleanup a breeze. Watch Out: If the oven temperature is too high, the cake will brown too quickly and become dry.
- In a large bowl, whisk together 2 cups of all‑purpose flour, 1 cup of granulated sugar, 2 teaspoons of baking powder, and 1/2 teaspoon of salt. Stir until the dry ingredients are evenly distributed. This ensures that every bite of shortcake has the same light, airy texture. Don't walk away from the stove here.
- In a separate bowl, combine 1 cup of whole milk, 1 cup of heavy cream, 2 large eggs, 2 tablespoons of melted unsalted butter, and 1 teaspoon of vanilla extract. Whisk vigorously until the mixture is smooth and slightly frothy. The froth is essential for a light pudding that holds its shape.
- Pour the wet mixture into the dry ingredients, stirring gently until just combined. Avoid over‑mixing; the batter should be slightly lumpy. Over‑mixing will develop gluten and make the cake tough. The batter should resemble a thick, pourable consistency.
- Transfer the batter into the prepared pan, smoothing the top with a spatula. Bake for 20 minutes, then lower the temperature to 325°F (165°C) and bake an additional 10 minutes. The cake is done when a toothpick inserted into the center comes out clean or with just a few crumbs. This two‑stage baking keeps the cake tender while ensuring a golden crust.
- While the cake is baking, prepare the strawberry glaze. In a saucepan, combine 2 cups of sliced fresh strawberries, 1/4 cup of granulated sugar, and the zest of one lemon. Cook over medium heat until the strawberries release their juices and the mixture thickens slightly, about 8 minutes. This glaze should be glossy and pourable, not runny. The lemon zest adds brightness that cuts through the richness of the pudding.
- Remove the cake from the oven and let it cool in the pan for 5 minutes. Then, using the parchment overhang, lift the cake onto a wire rack to cool completely. This resting period allows the cake to set and prevents a soggy bottom. While the cake cools, pour the strawberry glaze over the top, letting it soak into the crumb. The glaze should coat the cake like a velvet blanket.
- Once the cake has cooled, cut it into squares and place each piece on a serving plate. Drizzle additional strawberry glaze over the top and dust with 1/4 cup of powdered sugar. The powdered sugar adds a subtle sweetness and a dusting that looks like fresh snow on a summer day. Serve immediately for the best texture.
That's it — you did it. But hold on, I've got a few more tricks that'll take this to another level...
Insider Tricks for Flawless Results
The Temperature Rule Nobody Follows
Most bakers bake shortcake at a single temperature, but the secret to a moist crumb is a two‑stage bake. Start at 350°F to give the batter a head start, then drop to 325°F to finish. This technique prevents the outside from drying while the inside continues to rise, resulting in a cake that is tender on the inside and golden on the outside.
Why Your Nose Knows Best
When you’re about to remove the cake from the oven, pause and inhale. A slight aroma of caramelized sugar and butter is a sign that the cake is ready. If the smell is heavy on raw flour or undercooked, give it a few more minutes. Your nose is the best judge of doneness.
The 5‑Minute Rest That Changes Everything
After baking, allow the cake to rest in the pan for exactly five minutes. This rest period lets the steam redistribute, preventing a soggy bottom and ensuring the glaze spreads evenly. A quick glance at the top will reveal a slight puff, indicating that the cake is ready to be lifted.
The Perfect Piping Tool
Use a small pastry bag fitted with a star tip to pipe a decorative swirl of glaze on top of each square. This adds a professional look and makes the dessert feel special. If you don’t have a pastry bag, a plastic bag with a corner snipped off works just fine.
The Secret of Sweetness
The glaze’s sweetness can be adjusted by adding a tablespoon of honey or maple syrup if you prefer a richer flavor. Alternatively, a pinch of sea salt can enhance the strawberry’s natural tartness and create a flavor contrast that delights the palate.
Creative Twists and Variations
This recipe is a playground. Here are some of my favorite ways to switch things up:
Blueberry Bliss
Swap strawberries for fresh blueberries and add a teaspoon of lemon zest to the glaze. The blueberry’s natural sweetness pairs beautifully with the tartness of the lemon, creating a bright, refreshing dessert.
Mango Madness
Replace strawberries with diced ripe mangoes and add a splash of coconut milk to the glaze. The mango adds a tropical sweetness, while the coconut milk gives the pudding a subtle, exotic undertone.
Chocolate Shortcake Surprise
Add 1/4 cup cocoa powder to the batter for a chocolatey twist. Keep the glaze the same, and the chocolate shortcake will pair perfectly with the bright strawberry glaze, offering a rich yet refreshing flavor profile.
Almond Crunch
Sprinkle toasted almond slivers on top of each square before adding the glaze. The nutty crunch contrasts with the soft cake and creamy pudding, adding a delightful texture.
Minty Fresh
Add a handful of fresh mint leaves to the glaze and a few drops of peppermint extract to the batter. The mint will give the dessert a cool, refreshing aftertaste that’s perfect for hot summer days.
Storing and Bringing It Back to Life
Fridge Storage
Store the assembled pudding in an airtight container in the refrigerator for up to 3 days. The glaze will set, so if you’re not serving immediately, keep the pudding chilled to maintain its texture. When ready to serve, let it sit at room temperature for 10 minutes to soften slightly.
Freezer Friendly
Wrap each square tightly in plastic wrap and place them in a freezer bag. The pudding can be frozen for up to 2 weeks. To thaw, let the squares sit in the refrigerator overnight. Reheat gently in a microwave for 20 seconds, or warm in a 300°F oven for 5 minutes.
Best Reheating Method
Add a tiny splash of water before reheating to create steam, which restores moisture to the cake. The pudding will regain its silky texture, and the glaze will become glossy again. This trick is essential for keeping the dessert as fresh as when it was first baked.