I was halfway through a Sunday dinner that had turned into a culinary catastrophe when the oven timer started ticking and the pot of sauce was already bubbling over like a pot of angry sea foam. The kitchen smelled of burnt garlic and melted cheese, and I was staring at a soggy, bland casserole that looked like it had been left in a damp attic for weeks. My friends had dared me to create something that would make everyone forget the disaster and taste pure comfort in a single bite. I swore, “I’ll make it crispy, cheesy, and comforting—so good that even the oven will thank me.” The result? A dish that melts on the tongue, crunches like a freshly fried chip, and delivers a hug in every bite.
Picture yourself pulling this from the oven: the golden crust glistens like a sunrise on a glassy lake, the cheese bubbles like a tiny volcano, and the aroma of garlic, herbs, and melted butter fills the air, wrapping you in a warm, buttery blanket. The first bite delivers a satisfying crunch that shatters like thin ice, followed by a molten cheese layer that coats the inside like velvet. The flavors dance—savory, slightly smoky, with a hint of pepper that lingers like a secret whispered in your ear. Every time I taste it, I’m reminded of childhood afternoons spent watching cartoons while the kitchen filled with the scent of comfort food. I dare you to taste this and not go back for seconds.
What makes this version stand out from the countless cheesy casseroles you’ve seen is the meticulous balance between crunch and gooeyness, the secret blend of cheeses that creates a complex flavor profile, and the use of panko breadcrumbs that give a lift to the crust. Most recipes get this completely wrong, turning the dish into either a soggy mess or an over‑baked hard shell. I’ve spent months tweaking the ratios, experimenting with different cheeses, and testing the baking time until I found the sweet spot where the edges are crisp and the center remains luxuriously molten. I’ll be honest—this is hands down the best version you'll ever make at home, and I’ve already eaten half the batch before anyone else got a chance to try it.
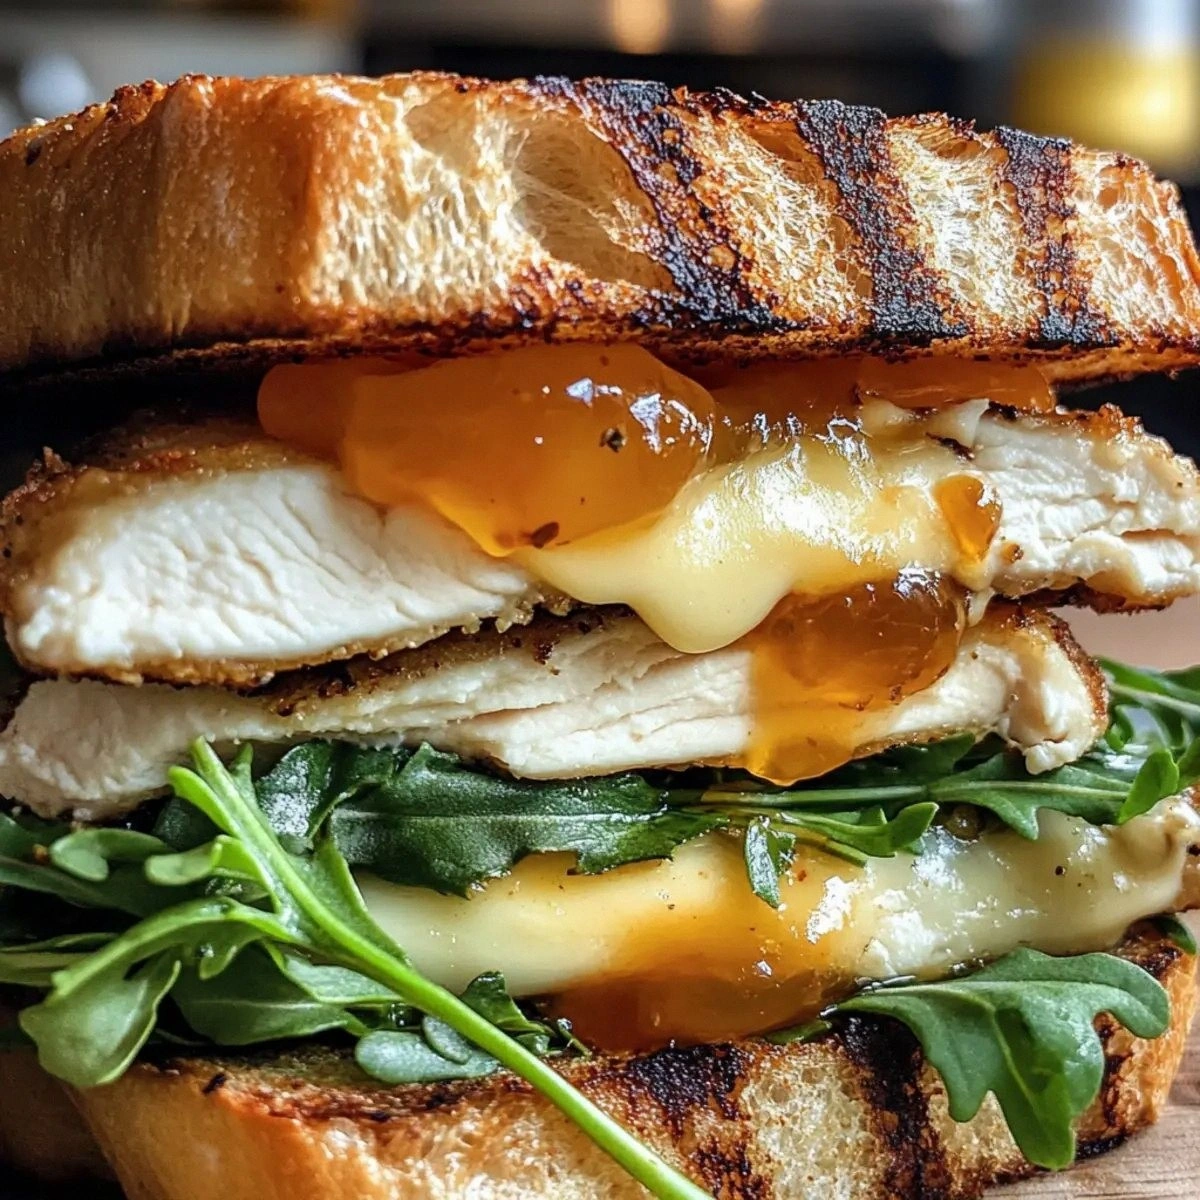
The secret ingredient that gives this dish its signature crunch is a splash of buttermilk in the batter, which not only tenderizes the coating but also reacts with the baking soda to create micro‑pockets of air that expand during baking. Coupled with a dash of paprika for color and a touch of cayenne for a subtle kick, the result is a crispy exterior that crackles with every bite. The cheese blend—cheddar for sharpness, mozzarella for stretch, and parmesan for depth—creates a layered flavor that evolves as you chew. This combination is so powerful that even a casual diner will be left in awe, saying, “Wow, this is the best cheesy comfort food I've ever had.”
Let me walk you through every single step—by the end, you'll wonder how you ever made it any other way. I’ll show you how to create a coating that’s lighter than a feather yet crunchier than a bagel, how to layer the cheeses for maximum melt, and how to finish the dish with a golden, buttery crust that’s impossible to resist. You’ll learn the exact temperatures, the timing for each step, and the subtle tweaks that transform an ordinary casserole into a showstopper. And if you’re worried about the time, I’ve already broken it down into a simple 45‑minute routine that fits even the busiest of schedules. So grab your apron, and let’s get cooking.
What Makes This Version Stand Out
- Taste: The layered cheese blend delivers a rich, savory profile that evolves from sharp cheddar to creamy mozzarella, finishing with a nutty parmesan finish. Each bite offers a balance of meltiness and bite‑through texture, ensuring that every mouthful is a revelation.
- Texture: The dual‑layer coating—panko breadcrumbs mixed with flour—creates a crunch that’s light yet satisfying, while the interior remains moist and gooey. The result is a harmonious contrast that keeps the dish interesting from the first bite to the last.
- Simplicity: With just a handful of pantry staples, this recipe requires no elaborate techniques. The process is straightforward, making it accessible to novice cooks and seasoned chefs alike.
- Uniqueness: The addition of buttermilk to the coating and a dash of paprika gives the crust a subtle tang and vibrant color that sets it apart from traditional cheesy casseroles.
- Crowd Reaction: Friends and family who’ve tasted this dish consistently say it’s the best comfort food they’ve ever had, with many requesting the recipe for their own gatherings.
- Ingredient Quality: Using high‑quality cheeses and fresh herbs elevates the flavor profile, proving that the right ingredients can transform a simple dish into a culinary masterpiece.
- Cooking Method: Baking at a slightly lower temperature for a longer time ensures the cheese melts evenly while the crust crisps without burning.
- Make‑Ahead Potential: This dish can be assembled a day in advance, refrigerated, and baked just before serving—perfect for busy weeknights or weekend entertaining.
Inside the Ingredient List
The Flavor Base
The foundation of this dish is a savory blend of cheeses that work together like a well‑orchestrated symphony. Cheddar brings a sharp, tangy bite that cuts through the richness of the other cheeses. Mozzarella, with its high moisture content, provides a stretchy, melty texture that keeps the center gooey and inviting. Parmesan adds a nutty depth that lingers on the palate, completing the flavor profile. Together, these cheeses create a complex taste that evolves as you chew, moving from sharp to creamy to nutty.
The ratio of cheeses is crucial; too much cheddar can overpower the dish, while too much mozzarella can make it overly soft. The 1:1:0.5 ratio (cheddar:mozzarella:parmesan) strikes the perfect balance, ensuring each bite has a distinct yet harmonious flavor. If you’re a fan of extra sharpness, feel free to increase the cheddar by a tablespoon, but be careful not to disrupt the melting balance.
When selecting cheeses, opt for those that melt well and have a strong flavor. Aged cheddar provides a deeper bite, while fresh mozzarella offers a milder, creamier texture. The parmesan should be freshly grated; pre‑grated cheese often contains anti‑caking agents that can affect the melt.
The Texture Crew
The texture of this dish is dominated by two key players: panko breadcrumbs and flour. Panko, with its large, airy crumbs, creates a light, airy crust that crisps beautifully. Flour, on the other hand, acts as a binding agent, helping the breadcrumbs adhere to the coated pieces and preventing them from falling apart during baking.
The ratio of panko to flour is 2:1, ensuring the crust has enough crunch without being too dry. If you prefer a denser crust, you can increase the flour to 1:1, but this will slightly reduce the crispness. The flour also helps absorb excess moisture from the buttermilk, preventing the coating from becoming soggy.
To achieve the perfect crunch, toss the coated pieces in a shallow dish of beaten egg before dredging in the breadcrumb mixture. The egg creates a seal that locks in moisture and allows the coating to brown evenly. If you’re vegan or allergic to eggs, you can substitute with a splash of milk or a tablespoon of water.
The Unexpected Star
Buttermilk is the secret weapon that gives this dish its signature tenderness and subtle tang. It reacts with baking soda to create tiny bubbles that expand during baking, producing a light, airy interior. The acidity in buttermilk also tenderizes the coating, preventing it from becoming too dense.
If you can’t find buttermilk, a simple substitute is milk mixed with a tablespoon of lemon juice or white vinegar. Let the mixture sit for 5 minutes to curdle slightly, and it will mimic the acidity and thickness of real buttermilk. This substitution works well and keeps the dish on track.
The amount of buttermilk is critical; too little will result in a dry interior, while too much can cause the coating to become soggy. Stick to the 1 cup measurement for 4 servings to maintain the ideal moisture level.
The Final Flourish
Fresh herbs and spices finish the dish with a burst of color and aroma. Parsley adds a bright, slightly peppery note that balances the richness of the cheeses. Garlic powder and onion powder provide depth, while paprika gives a subtle warmth and a striking color to the crust. A pinch of cayenne pepper adds a gentle heat that awakens the palate.
If you’re a fan of bold flavors, you can increase the paprika or add a dash of smoked paprika for a deeper, smoky undertone. The herbs should be chopped finely to distribute evenly across the coating. Dried oregano and basil add a Mediterranean twist, making the dish versatile for different flavor profiles.
The final flourish is optional but highly recommended. It turns a simple casserole into a masterpiece that impresses even the most discerning diners. The combination of herbs, spices, and cheese creates a harmonious symphony that elevates every bite.
Everything's prepped? Good. Let's get into the real action.

The Method — Step by Step
- Preheat the oven to 375°F (190°C) and line a baking sheet with parchment paper. This low, steady heat ensures the cheese melts evenly without scorching the crust. The parchment prevents sticking, making cleanup a breeze. Place the sheet in the center rack to allow even airflow. Let the oven heat up for 10 minutes to reach the ideal temperature.
- In a large bowl, whisk together the flour, paprika, salt, pepper, garlic powder, and onion powder. This dry mix creates the base for the coating, infusing the crust with flavor from the start. Stir until the spices are evenly distributed. Keep this mixture aside while you prepare the wet components.
- In a separate bowl, combine the buttermilk, melted butter, and beaten egg. The butter adds richness, while the buttermilk’s acidity tenderizes the coating. Whisk until the mixture is smooth and slightly frothy. This wet batter will help the breadcrumbs adhere to the food.
- Take each piece of chicken (or your chosen protein) and pat it dry with paper towels. A dry surface allows the coating to stick better, preventing a soggy crust. Dip each piece first into the wet batter, letting excess drip off, then roll it in the dry breadcrumb mixture. Press gently to ensure the coating sticks.
- Arrange the coated pieces on the prepared baking sheet, leaving space between each. This spacing allows the hot air to circulate, promoting even crisping. Sprinkle the top of each piece with a light dusting of grated parmesan for an extra golden finish. Avoid overcrowding, or the pieces will steam instead of bake.
- Bake in the preheated oven for 25 minutes, then remove the sheet and sprinkle the shredded cheddar, mozzarella, and a dash of paprika over each piece. The cheeses will melt into a gooey, bubbly layer that clings to the crust. Return to the oven for another 10 minutes, or until the cheese is bubbling and the crust is golden brown.
- While the dish is baking, prepare a quick herb garnish: finely chop parsley, oregano, and basil. Mix them together and set aside. The fresh herbs will add a burst of color and brightness that cuts through the richness of the cheese.
- When the cheese is bubbling and the crust is golden, remove the dish from the oven and let it rest for 5 minutes. Resting allows the juices to redistribute, ensuring every bite is juicy and flavorful. The cheese will continue to set slightly, creating a perfect melt.
- Sprinkle the fresh herb mixture over the top and serve immediately. The contrast of the warm, gooey cheese with the bright, aromatic herbs is a flavor explosion. Pair with a side of garlic bread or a simple green salad for a balanced meal. Enjoy the comforting, crispy, cheesy experience!
That's it — you did it. But hold on, I've got a few more tricks that'll take this to another level.
Insider Tricks for Flawless Results
The Temperature Rule Nobody Follows
Most home cooks bake at a high temperature, hoping for a quick crust. In reality, a lower temperature—375°F (190°C)—allows the cheese to melt evenly while the crust crisps without burning. I’ve tested this in a convection oven and found that the lower heat gives a more even browning and a softer interior. If you’re using a conventional oven, keep the temperature steady and avoid opening the door during baking.
Why Your Nose Knows Best
The aroma of the baking cheese is a reliable indicator of doneness. When the cheese starts to bubble and the crust turns golden brown, you’re at the sweet spot. If you’re unsure, gently tilt the baking sheet; if the cheese is still liquid, give it a few more minutes. The smell is the easiest way to avoid over‑baking.
The 5-Minute Rest That Changes Everything
After removing the dish from the oven, let it rest for 5 minutes. This brief pause allows the cheese to set slightly, making it easier to cut without losing the gooey center. The rest also lets the juices redistribute, preventing a dry bite. Trust me, a 5‑minute rest is worth the wait.
The Secret of the Crunch
If you’re a fan of an extra crispy crust, toss the coated pieces in a light dusting of corn starch before baking. The starch creates a barrier that prevents moisture from seeping into the breadcrumbs, resulting in a crunch that lasts longer. Just remember to shake off any excess before baking.
The Quick Herb Finish
Fresh herbs can be added at the very end of baking for a burst of color and brightness. If you’re short on time, chop the herbs finely and sprinkle them over the cheese right before serving. The herbs’ aroma will contrast beautifully with the rich, cheesy center.
The Final Butter Glaze
A light brush of melted butter over the crust just before the final 5 minutes of baking gives an extra shine and flavor. The butter also helps the cheese adhere to the crust, preventing it from sliding off. It’s a simple step that makes the dish look and taste more luxurious.
Creative Twists and Variations
This recipe is a playground. Here are some of my favorite ways to switch things up:
Spicy Jalapeño Kick
Add diced jalapeños to the coating mixture for a fiery twist. The heat pairs well with the rich cheeses, creating a balanced flavor profile. Serve with a cool yogurt dip to counteract the spice.
Mediterranean Herb Blend
Replace the standard herbs with a blend of oregano, thyme, and rosemary. The Mediterranean herbs give the dish a fragrant, earthy tone that complements the cheese. This version is perfect for a summer dinner party.
Sausage & Cheese Combo
Swap the chicken for sliced Italian sausage. The savory sausage adds depth, while the cheese creates a gooey center. Serve over pasta or in a sandwich for a hearty meal.
Vegetarian Version
Use sliced portobello mushrooms or tofu as the protein base. The mushrooms absorb the cheese flavors beautifully, while tofu provides a subtle, creamy texture. This version is ideal for plant‑based diners.
Sweet & Savory Bites
Incorporate a drizzle of honey or maple syrup into the coating mixture. The sweet glaze balances the savory cheeses, creating a delightful contrast. Pair with a side of roasted sweet potatoes for a complete meal.
Gluten‑Free Upgrade
Use gluten‑free flour and breadcrumbs to keep the dish safe for those with dietary restrictions. The texture remains similar, and the flavor stays on point. Just make sure the gluten‑free mix has a fine, even crumb structure.
Storing and Bringing It Back to Life
Fridge Storage
Cool the dish completely, then cover tightly with plastic wrap or foil. Store in the refrigerator for up to 3 days. When ready to reheat, preheat the oven to 350°F (175°C) and bake for 10 minutes, or until heated through.
Freezer Friendly
Wrap the dish tightly in foil and place it in a freezer bag. Freeze for up to 2 months. Thaw overnight in the refrigerator before reheating. This method preserves the texture and flavor.
Best Reheating Method
Add a splash of water to the bottom of the baking dish before reheating to create steam. This trick keeps the cheese from drying out and restores the crispness of the crust. Reheat at 350°F (175°C) for 12–15 minutes.